7.3 <
Scanning>
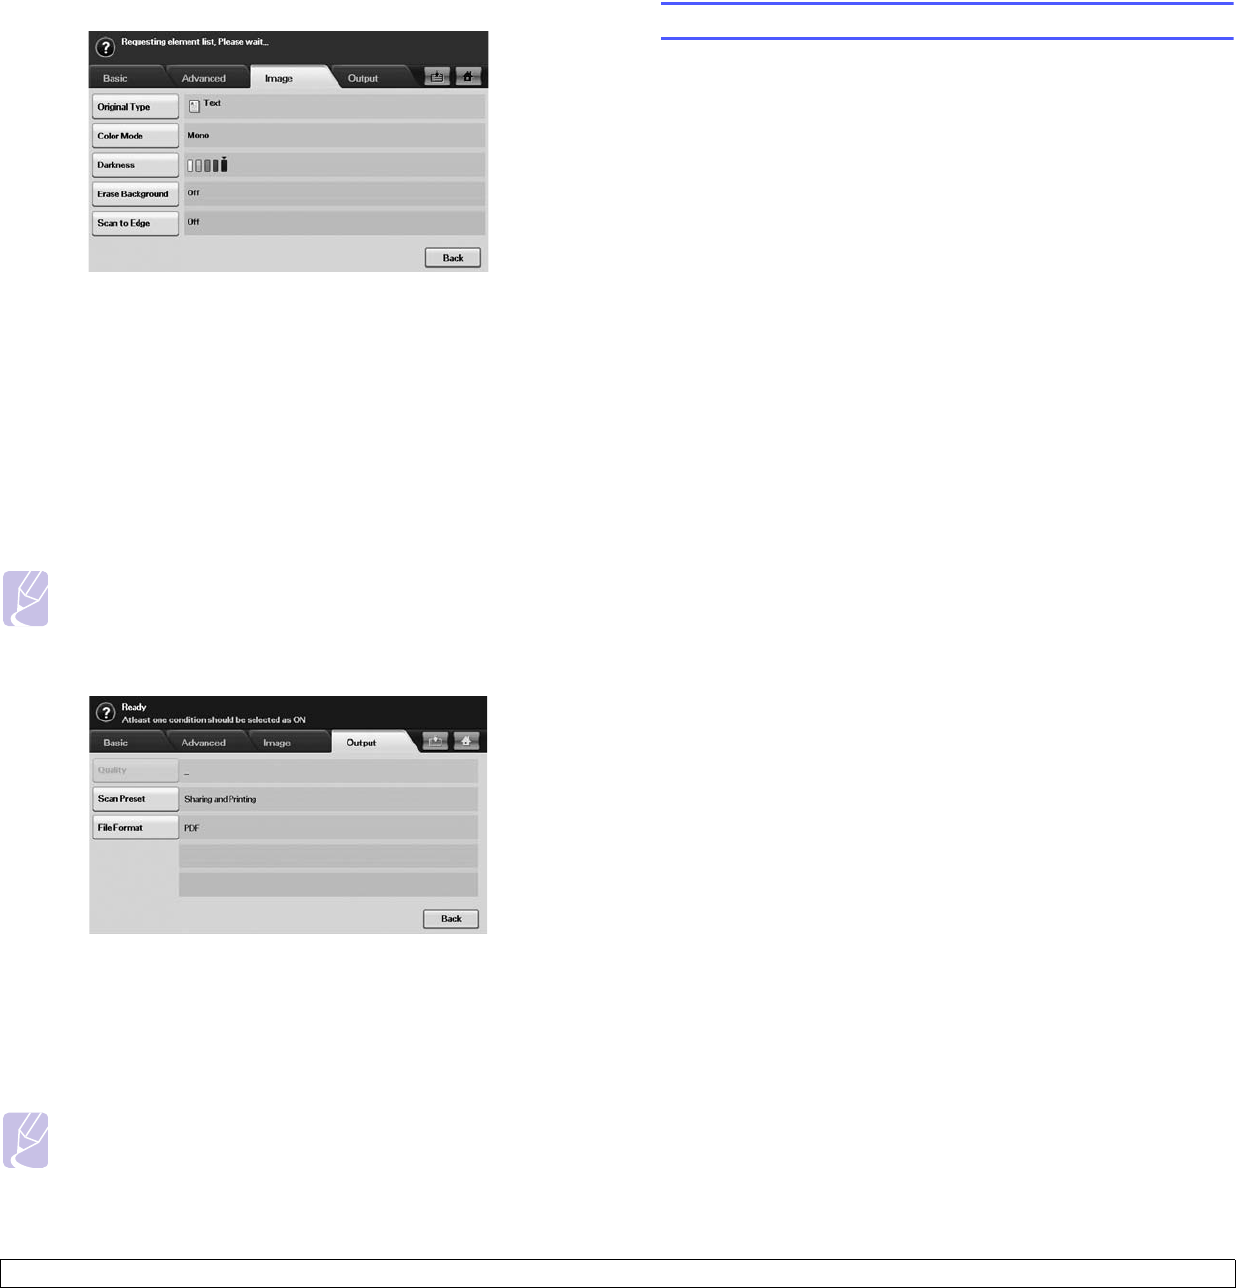
Image tab
• Original Type: Selects whether the original is text or photo.
(Page 7.9)
• Color Mode: Adjusts the color options of the scan output. If the
original is color and you want to scan in color, press Color Mode.
(Page 7.9)
• Darkness: Adjusts the degree of darkness of the scan output. Use
left/right arrow to adjust the values. (Page 7.10)
• Erase Background: Erases backgrounds like paper patterns.
(Page 7.10)
• Scan to Edge: Scans originals from edge-to-edge. (Page 7.10)
• Back: Returns to the previous screen.
Output tab
• Quality: Adjusts the display quality of the scan output. (Page 7.10)
• Scan Preset: Automatically changes some scan options such as
file format, resolution, and more. You can adjust options to fit each
specific purpose. (Page 7.10)
• File Format: Selects the file format of the scan output. (Page 7.11)
• Back: Returns to the previous screen.
Note
Scan to PC only supports Color Mode menu.
Note
Scan to PC only supports File Format menu.
User authentication for network scanning
To send an email, FTP, SMB or Network, you must register authorized
local or network users using SyncThru™ Web Service.
• If user authentication has been activated, only authorized local users
or on the DB server (SMB, LDAP, Kerberos) can send scanned data to
the network (email, FTP, SMB).
• For network scanning using the authentication feature, you must
register the network or local authentication configuration using the
SyncThru™ Web Service.
• User authentication has 3 options: none (Default), network
authentication, and local authentication.
Registering local authorized users
1 Enter your machine’s IP address as the URL in a browser and click
Go to access the web site of your machine.
2 Click Machine Settings.
3 Select Local Authentication on the General Setup of the User
Authentication web page.
4 Click Add.
5 Select an index number corresponding to the location for storing the
entry, from 1 to 500.
6 Enter your name, auth ID, password, e-mail address and phone
number.
You need to enter the registered user ID and password in the
machine when you start scanning to email from the control panel.
7 Click Apply.
Register authorized network users
1 Enter your machine’s IP address as the URL in a browser and click
Go to access the web site of your machine.
2 Click Machine Settings.
3 Select Network Authentication on the General Setup of User
Authentication web page.
4 Click Apply and OK.
5 Select the Authentication Type that you prefer.
6 Configure the values for each feature, as follows.
7 Click Apply.
Network user authenticated by Kerberos
1 Enter the realm used for Kerberos login.
2 Select IP Address or Host Name.


