270
Browse Folders
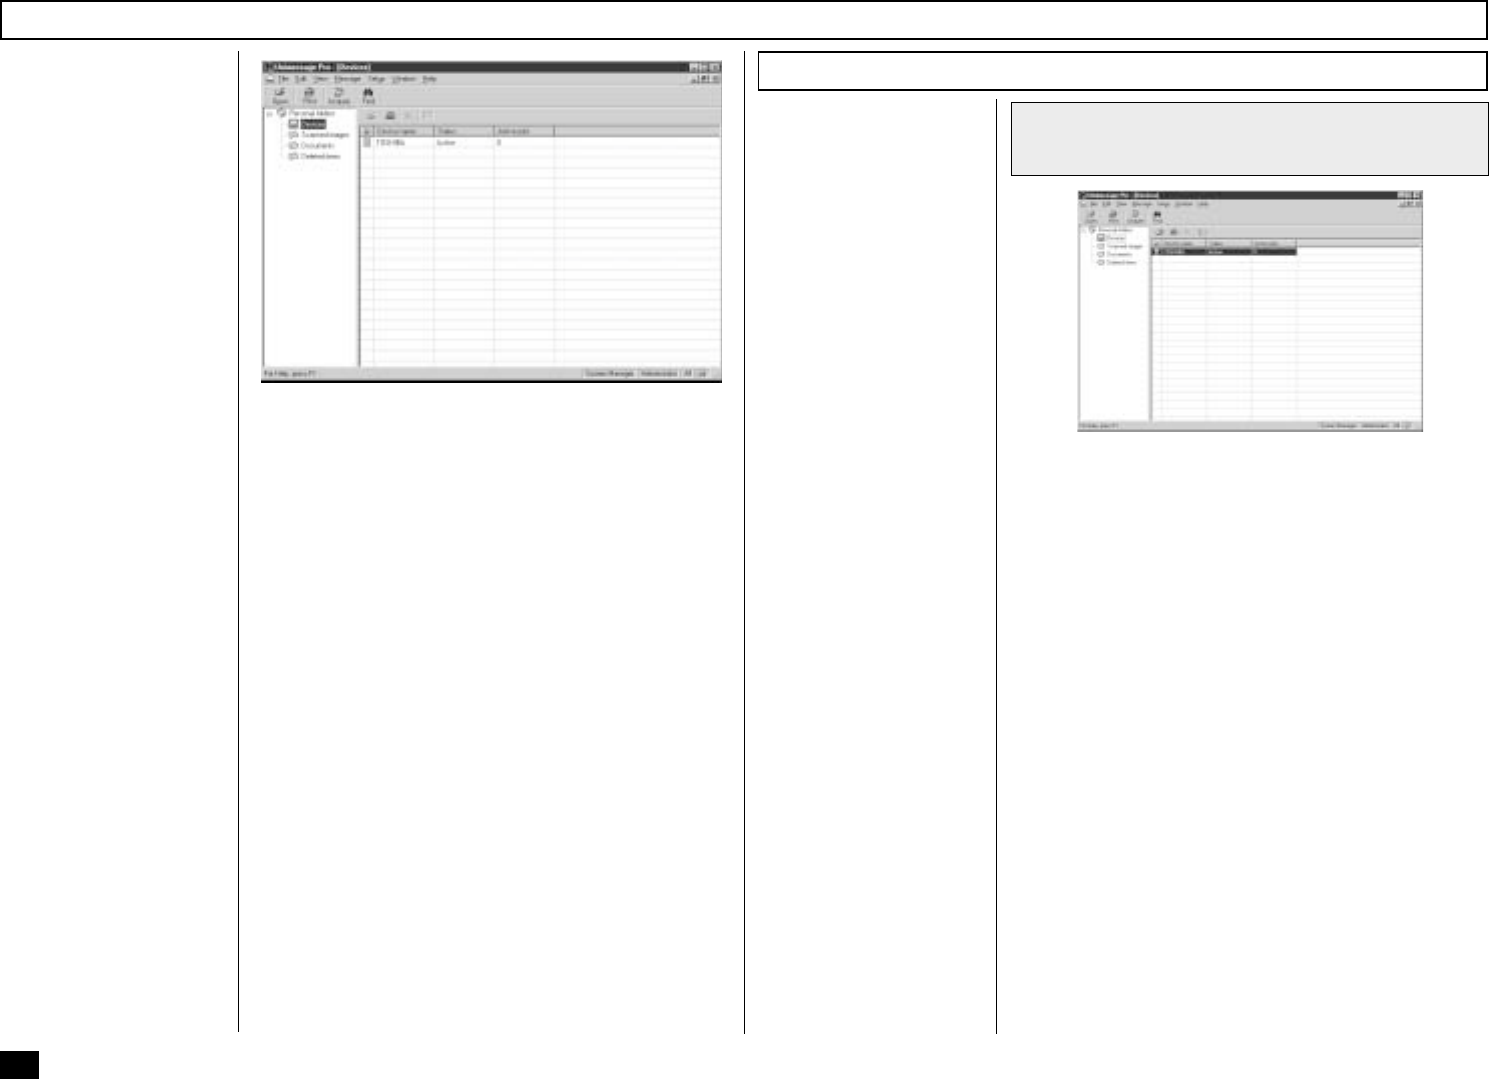
When you click Browse
Folders button or the
TOSHIBA Viewer logo on
the Welcome menu, the
TOSHIBA Viewer main
display will appear.
NOTE:
• When you close the
main TOSHIBA View-
er display, the Wel-
come menu will reap-
pear. If you prefer to
skip the Welcome
menu, select Pro-
gram from the Setup
menu, click on the Ap-
plication tab and un-
check the Show “wel-
come” screen option
then click OK. The
Welcome menu will
not to be displayed be-
ginning with the next
time you start
TOSHIBA Viewer.
• You can switch be-
tween open folders in
the main TOSHIBA
Viewer display using
Ctrl+TAB or Ctrl+F6.
• You can close the cur-
rent folder in the main
TOSHIBA Viewer dis-
play using Ctrl+F4.
At the top of the Main TOSHIBA Viewer Display is the
menu list -
File
,
Edit
,
View
,
Message
,
Setup
,
Window
,
and
Help
. Below the menu list is the main toolbar -
Open
,
Print
,
Acquire
and
Find
. For further descrip-
tions of the each menu item, select Contents and
Index in
Help
menu to view the Help.
The remainder of the screen is divided into two parts:
• On the left is the list of available folders.
To open a folder in the right pane, click its name in
the folder tree. If a folder contains any unread items
TOSHIBA Viewer will display the number of unread
items within each folder after each folder’s name in
this section of the screen.
• On the right is a display area for individual or multiple
folder.
You can select folders to be displayed by clicking
on them in the folder list.
Changing the Device Configuration
During the Unimessage
Device Wizard that con-
cluded the installation
process, you will have
configured TOSHIBA
Viewer for use with your
DP120F/DP125F. Should
you want to, you can
reconfigure how TOSHIBA
Viewer works with your
DP120F/DP125F via the
Device folder.
Also you can remotely
configure the device
configuration using this
program.
1
Open the Device folder
Double click the appropriate entry in the list of devices
that appears in the right hand pane.
Device settings appears.


