


4-13
ENG
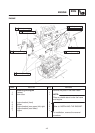
CAMSHAFTS
CAUTION:
CAUTION:
NOTE:
CAMSHAFTS
ENG
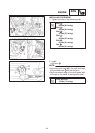
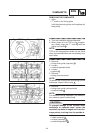
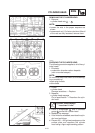
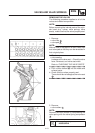
d. Check if the punched marks
c
on both cam-
shafts are inside the holes of camshaft caps
d
. If they are not in the position, repeat the
above steps.
e. Tighten the bolts (camshaft cap) in a criss-
cross pattern from the inside outwards.
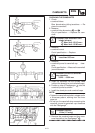
The bolts (camshaft caps) must be tight-
ened evenly or damage to the cylinder head,
camshaft caps and camshaft will result.
Bolt (camshaft cap):
12 Nm (1.2 mSkg)
f. Remove the safety wire from the timing
chain.
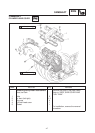
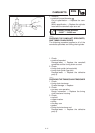
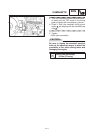
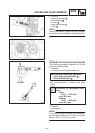
3. Install:
Stiming chain tensioner
Installation steps:
a. Remove the tensioner cap bolt
1
, washer
2
and springs
3
.
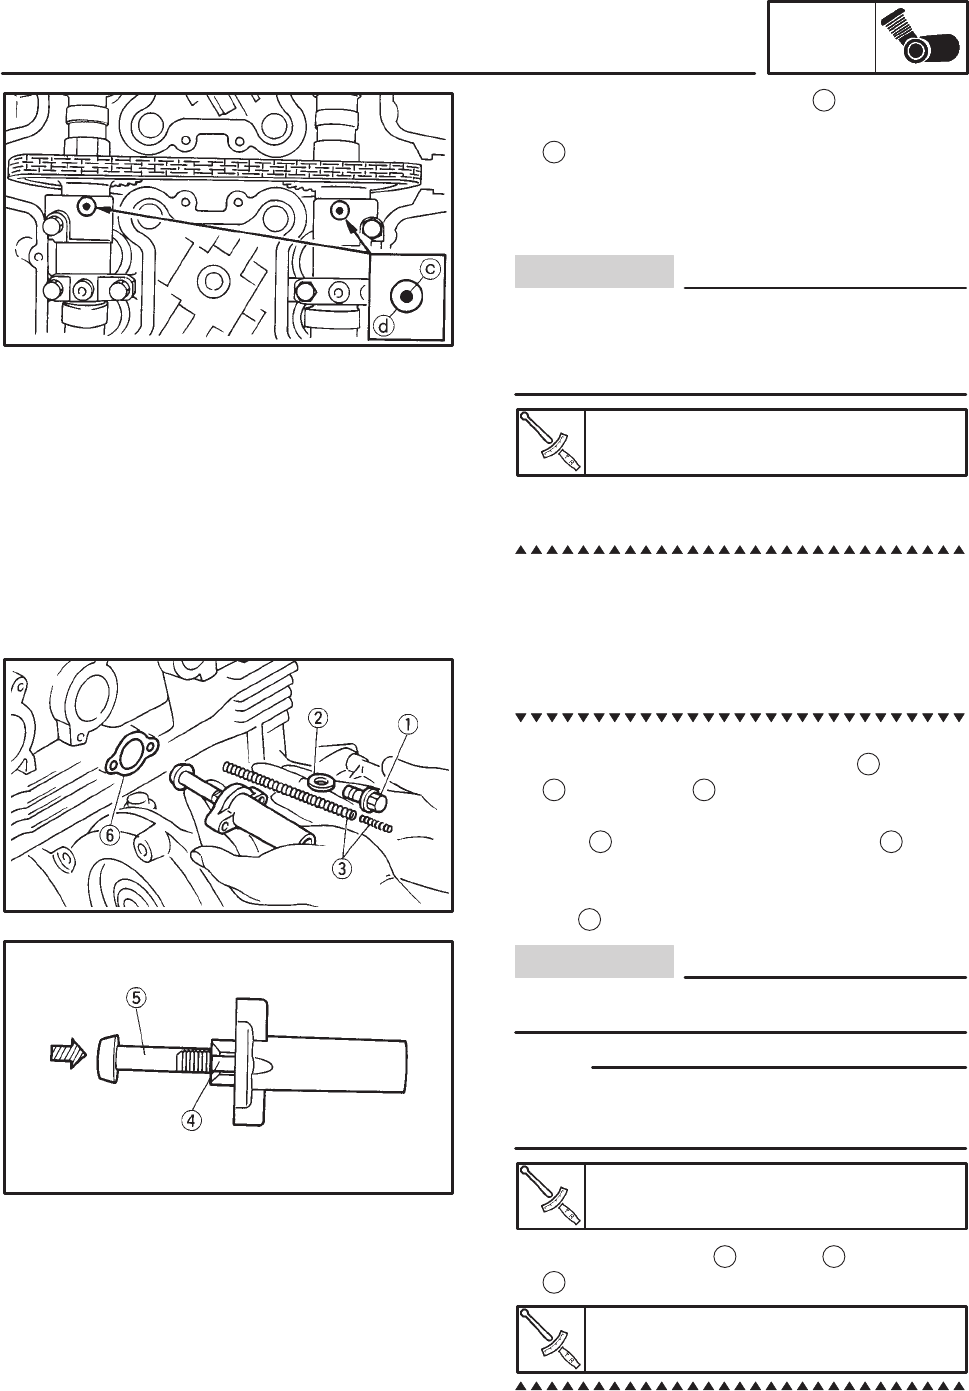
b. Release the timing chain tensioner one-way
cam
4
and push the tensioner rod
5
all the
way into the timing chain tensioner housing.
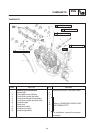
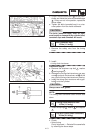
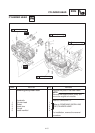
c. Install the timing chain tensioner with a gas-
ket
6
onto the cylinder.
Always use a new gasket.
The timing chain tensioner teeth should face
down.
Timing chain tensioner bolt:
10 Nm (1.0 mSkg)
d. Install the springs
3
, washer
2
and cap bolt
1
.
Cap bolt (timing chain tensioner):
20 Nm (2.0 mSkg)
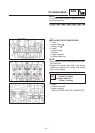
4. Check:
SValve timing
Out of alignment ! Reinstall the camshafts
by referring the above steps.