Agilent E5250A User’s Guide, Edition 9 2-17
Installation
Installing the E5250A
To Set GPIB Address
Every device on the GPIB bus must have a unique address.
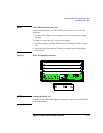
If you need to change the GPIB address of the E5250A, make sure the E5250A is
turned off. With a small flatblade screwdriver, set the GPIB ADDRESS switch on
the rear panel to the new address (0 to 30).
The new GPIB address is recognized only at power on. The E5250A leaves the
factory with the GPIB address set to 22.
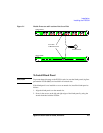
To Connect GPIB Cable
To connect the E5250A with a computer or peripheral device via GPIB (IEEE Std.
488), connect an GPIB cable between the GPIB connector on the E5250A rear panel
and the GPIB connector on the peripheral device.
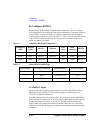
Including the controller, a total of 15 GPIB interfaces can be connected on the same
GPIB bus. The following are rules for connecting GPIB interfaces:
• If total number of interfaces ≤ 10:
Max. total cable length = number of interfaces × 2 m.
• If total number of interfaces > 10:
Max. total cable length = 20 m.
• Maximum cable length between interfaces is 4 m.
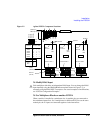
• Star connection and cascade connection are allowed. Loop connection is not
allowed.


