12-50 Installation and Maintenance Volume
Octel 200/300 S.4.1 PB60019−01
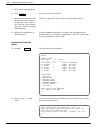
To log on to the Octel 200/300.
The drive is physically removed; there is no procedure required.
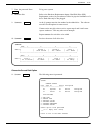
Use the @DSKTST <shelf/slot> to initialize slot information on the
destination drive. For example, @DSKTST B3. The VCU software tests
the slot and updates its status record.
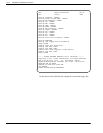
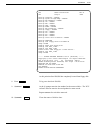
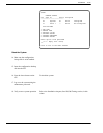
The following menu is displayed:
@disko
CURRENT STATUS
Slot Type ID Status
−−−−−−−−−−−−−−−−−−−−−−−−−−−−
B3 System1 S1 ACTIVE Configured
B4 System2 −− EMPTY Not Cfgd
C1 Voice1−− EMPTY Not Cfgd
C2 Voice2 −− EMPTY Not Cfgd
C3 Voice3 −− EMPTY Not Cfgd
C4 Voice4 −− EMPTY Not Cfgd
DISK OPTIONS
1. ADD DISK
2. REMOVE DISK
3. REPLACE A DISK
4. RESTORE SYSTEM
5. UPGRADE LANGUAGES
6. UPGRADE SYSTEM
7. DISK COPY
Select option to be performed
(1−7 − Empty line = EXIT)
:7
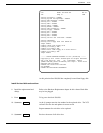
The Octel 200/300 displays the following screen. (There may be a delay
before the screen appears.)
Select source drive slot( Empty line = EXIT) :b3
Select destination drive slot( Empty line = EXIT) :b4
Disk copying will take long time.
Are you sure you want to do this? (Y/N,empty line = NO)
:y“
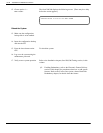
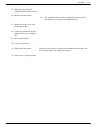
9. Insert disk #2 when prompted.
10. Press
Enter
11. Insert the destination drive into
an empty drive slot. If there is
no empty drive slot, remove a
drive from one of the message
only slots to make room for the
destination drive.
12. Initialize slot information on
destination drive.
Choose the Correct Disk
Option
13. @DISKO
Enter
14. Choose option 7 — COPY
DISK


