Scanning
8-9
Basic Scanning Operations
9
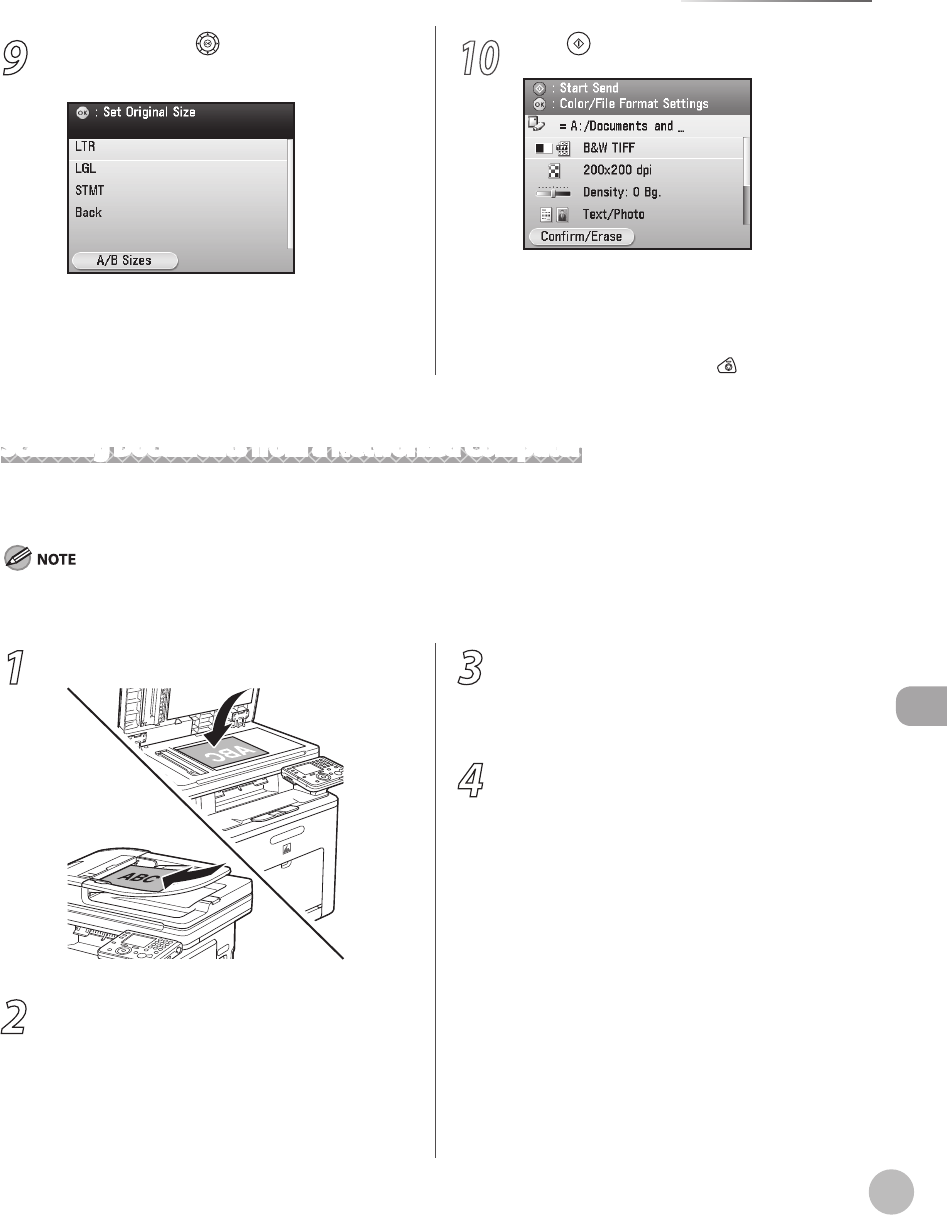
Use [▼], [▲] or (Scroll Wheel) to select
the original size, then press [OK].
10
Press (Start).
Scanning starts and the scanned data is sent
to the specied media when scanning is
complete.
To cancel scanning, press the left Any key to
select <Cancel> or press
(Stop).
–
–
1
Place your originals.
2
Start Network ScanGear from the
application on your computer.
For details, see “Scan,” in the e-Manual.
3
Make scan settings on the [Main],
[Options], and [Scanner Info] sheets.
For details about the settings in each sheet, refer
to the Online Help for that sheet.
4
Click [Scan].
Scanning starts. When scanning is complete, the
Network ScanGear Main Window closes and the
scanned image is transferred to the application.
During scanning, a scanning progress dialog box
is displayed. To interrupt scanning, click [Cancel].
Scanning Documents from a Networked Computer
This section describes the basic procedure for using Color Network ScanGear to scan over the network.
Scanned documents are transmitted over the network to your computer.
If you are using Color Network ScanGear for the rst time after installing it, the network scanner to be used must be selected with the
ScanGear Tool. For details, see “Scan,” in the e-Manual.


