


9-19
Network Processing Engine and Network Services Engine Installation and Configuration
OL-4448-12
Chapter 9 Removing and Installing the NPE or NSE
Removing and Replacing the NPE or NSE
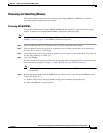
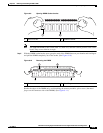
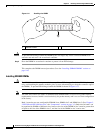
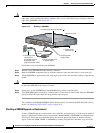
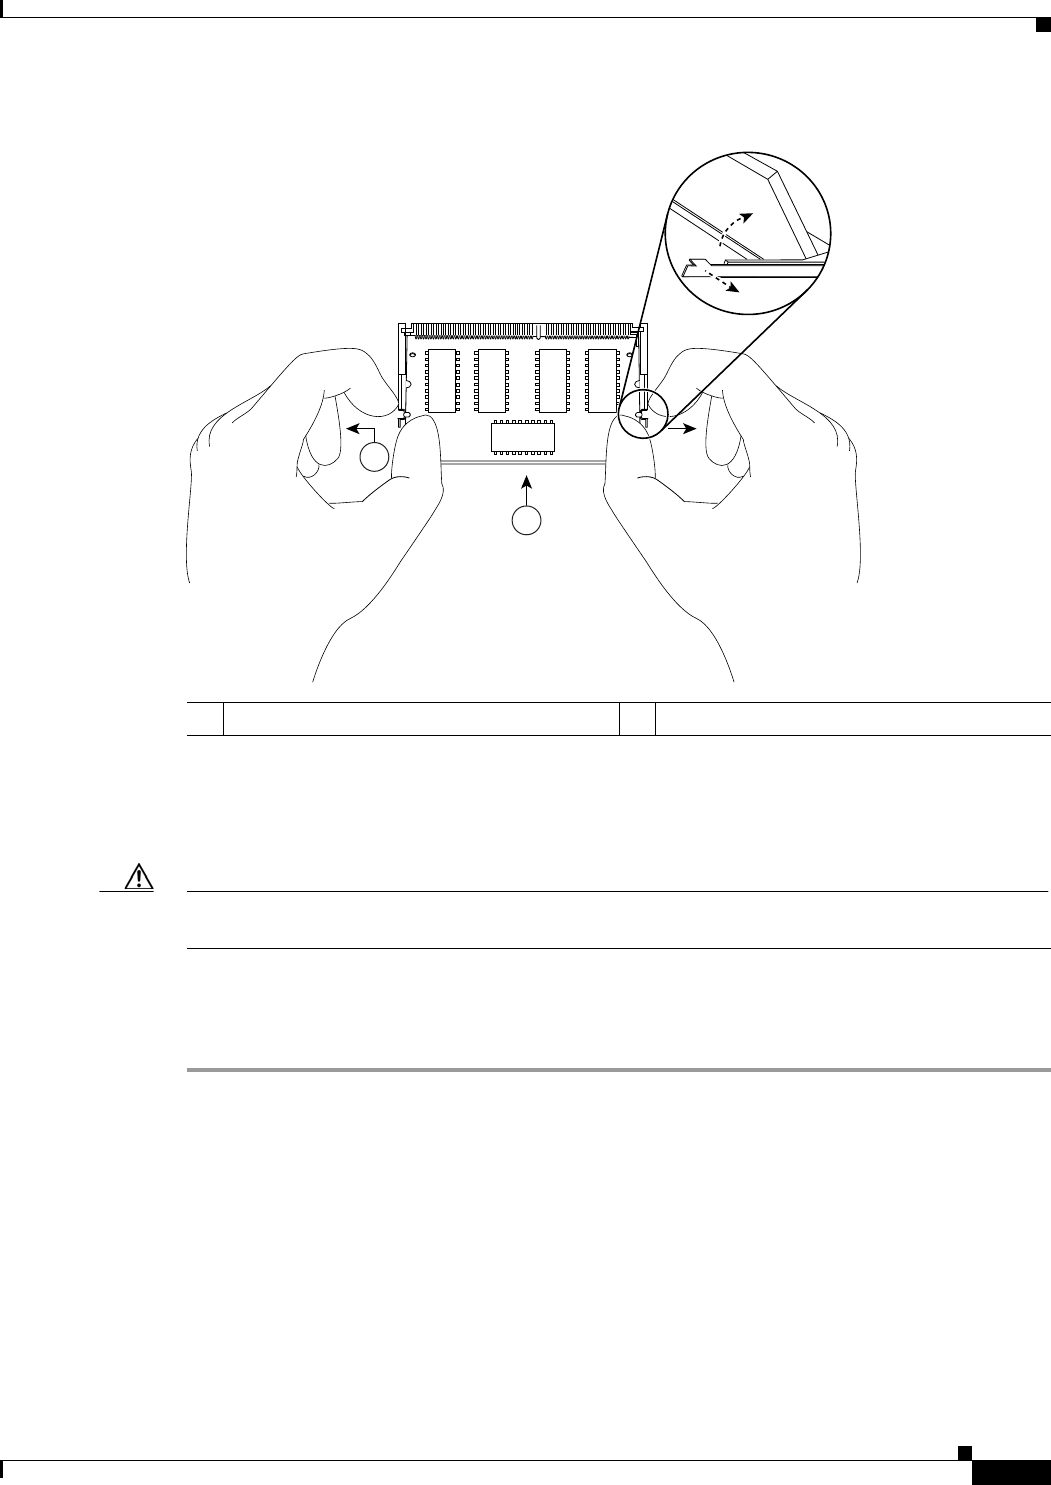
Figure 9-14 Releasing the SODIMM Spring Latch
Step 5 Remove the SODIMM you want to replace by pulling outward on the SODIMM spring latches with your
thumbs.
The SODIMM springs up to allow you to easily pull it from the socket.
Caution To prevent ESD damage, handle the SODIMM by the card edges only (as shown in Figure 9-14 on
page 9-19). Place the removed SODIMM on an antistatic mat and store it in an antistatic container.
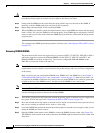
Step 6 Remove the SODIMM from the socket. Avoid touching the SODIMM as much as possible, particularly
the traces, the metal fingers on the connector side of the SODIMM.
Step 7 Place the SODIMM in an antistatic container to protect it from ESD damage.
This completes the SODIMM removal procedure. Proceed to the next section to install the new
SODIMM.
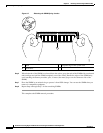
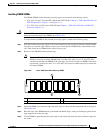
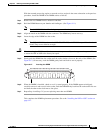
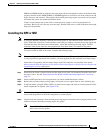
Installing a SDRAM SODIMM
This section provides a procedure for replacing the SODIMM on the NPE-400.
The synchronous dynamic random-access memory (SDRAM) on the NPE-400 is contained in one small
outline dual in-line memory module (SODIMM) (see
Figure 9-13 on page 9-18).
1 Spring latch on the release latch 2 SDRAM SODIMM
66419
2
1