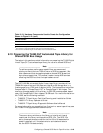
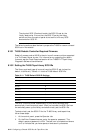
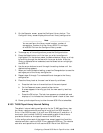
Menu: Configuration
Inquiry
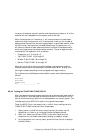
6. Press and release the up or down arrow buttons to locate the SCSI
Address submenu, and verify that the following information is displayed
in the SDA:
Menu: Configuration
SCSI Address ..
7. Press and release the SELECT button to choose the SCSI Address
submenu and verify that the following information is displayed in the
SDA:
Menu: Configuration
Robotics
8. Press and release the SELECT button to choose the Robotics submenu
and verify that the following information is displayed in the SDA:
Menu: SCSI Address
SCSI ID 0
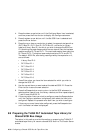
9. Use the up and down arrow buttons to select the desired SCSI ID for the
robotics controller.
10. When the desired SCSI ID is displayed on line 2, press and release
the SELECT button.
11. Press and release the up or down button to clear the resulting display
from the command.
12. Press and release the up or down button and the SELECT button
simultaneously, and verify that System On-line or System Off-line is
displayed in the SDA.
To set the SCSI ID for each tape drive if the desired SCSI IDs are different
from those shown in Table 8–9, follow these steps:
1. Press and release the Control Panel STANDBY button and verify that
the SDA (Status Display Area) shows System Off-line.
2. Press and release SELECT to enter the menu mode.
3. Verify that the following information is displayed in the SDA:
Menu:
Configuration:
4. Press and release SELECT to choose the Configuration menu.
5. Verify that the following information is displayed in the SDA:
Menu: Configuration
SCSI Address
8–38 Configuring a Shared SCSI Bus for Tape Drive Use


