Configuring System Information 173
– Checked—Removes the Trap Manager Table entry.
– Unchecked—Maintains the Trap Manager Table entry.
Enabling SNMP Traps on the device:
1 Open the SNMP Trap Settings page.
2 Select Enable in the SNMP Trap drop-down list.
3 Define the Select Recipient IP, Traps, and Community String fields.
4 Click Apply Changes. SNMP traps are enabled on the device.
Enabling Authentication Traps on the device:
1 Open the SNMP Trap Settings page.
2 Select Enable in the Authentication Trap drop-down list.
3 Define the Select Recipient IP, Traps, and Community String fields.
4 Click Apply Changes. Authentication traps are enabled on the device.
Adding a new Trap Recipient:
1 Open the SNMP Trap Settings page.
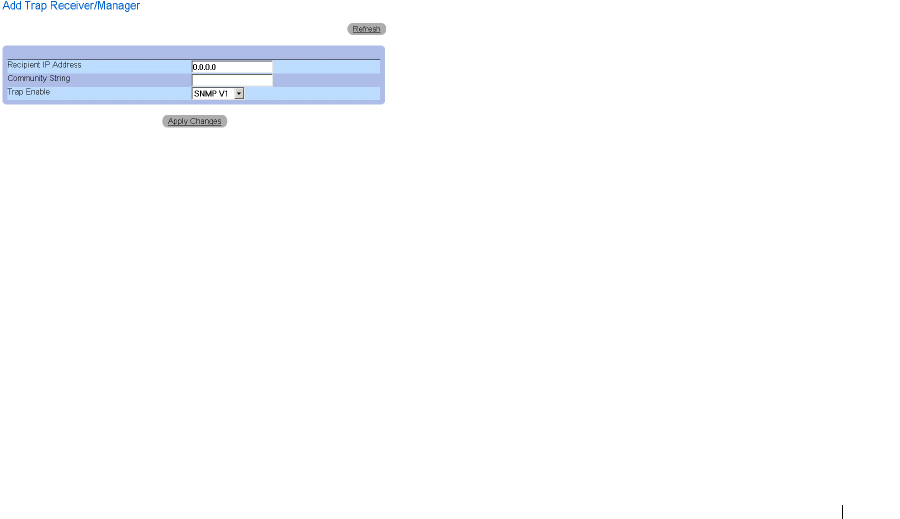
2 Click Add. The Add Trap Receiver/Manager page opens.
Add Trap Receiver/Manager Page
3 Define the Recipient IP Address, Community String, and Trap Enable fields. (Note
that 0.0.0.0 means "All", and the traps are broadcast.)
4 Click Apply Changes. the Trap Recipient/Manager is added, and the device is
updated.


