Assign TCP/IP Values
161
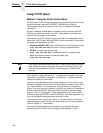
For Windows 95/98/NT or OS/2, open a DOS window. For AS/400, start from
a command prompt. For Unix, start from a terminal session prompt:
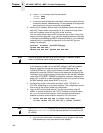
telnet xxx.xxx.xxx.xxx
> login
> user ‘root’
(default user name for configuration)
> anything
(default is no password)
> welcome root user
(sample response)
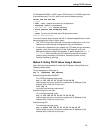
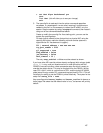
> store pserver smb workgroup Acme
> ok
> reset
(print server will need about 30 seconds to reset)
session disconnected
You should now be able to browse the NIC in “Network Neighborhood,” which
has resources d1prn, d2prn, d3prn, d4prn.
• The TCP/IP values are not stored in the printer configuration, so it is not
necessary to use the printer configuration menu for the above.
• If the printer is attached to your network via UTP cable and you entered a
gateway value, then executing the E-Net Test Page will verify your
settings and execute a
ping
to the gateway. A “good” response is “gw-IP
is alive
” which assures you of a functioning network connection
(cable is good, connection is functional, values are correct, all that
remains is setting up printing).
Method 2: Setting TCP/IP Values Using A Network
Start with the printer powered off. Have the IP Address, Subnet Mask, and
Gateway values ready.
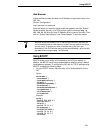
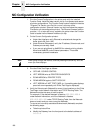
For arp assignment, the syntax is:
arp -s ipaddress MAC_address
Example using Windows 95/98/NT:
On a DOS command prompt, enter:
arp -s 192.168.20.20 00-80-72-09-00-5F
(set the static arp value; be certain to replace the IP Address of this
example with a valid one of your own)
list arp -a
(to ensure you have the “static entry”)
Example using Unix (not AIX):
On a command prompt, enter:
arp -s 192.168.20.20 00:80:72:09:00:5F
(set the static arp value; be certain to replace the IP Address of this
example with a valid one of your own)
Example using AIX:
On a command prompt, enter:
arp -s ether 192.168.20.20 00:80:72:09:00:5F
(set the static arp value; be certain to replace the IP Address of this
example with a valid one of your own)


