


Section 8: Adjustment Procedures
M84Pro Service Manual PN 9001111A Page 8-14
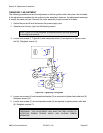
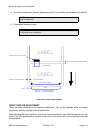
OFFSET LABEL STOP POSITION ADJUSTMENT
The following procedure provides for fine adjustment of the label stop position for Tear-Off,
Cutter, and Dispense Modes. The Feed/Backfeed is adjusted with the Offset potentiometer
located on the front panel. The Offset adjustment range is +/- 3.75 mm.
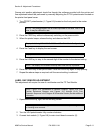
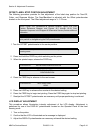
1 Turn the OFFSET potentiometer to the center position.
2 Press and hold the FEED key while switching on the printer.
3 When the printer beeps, release the FEED key.
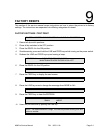
4 Press the FEED key to advance to the next screen.
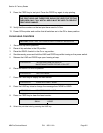
5 Press the LINE key to advance the counter to the desired setting.
6 Press the FEED key to begin test printing. Press the FEED key again to stop test printing.
7 Readjust the OFFSET potentiometer as necessary until proper positioning is achieved.
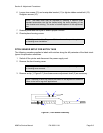
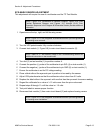
LCD DISPLAY ADJUSTMENT
This procedure allows illumination intensity adjustment of the LCD display. Adjustment is
performed by use of the DISPLAY potentiometer located on the Operator Panel of the front
housing cover.
1 Turn on the printer.
2 Confirm that the LCD is illuminated and a message is displayed.
3 Adjust the DISPLAY potentiometer as necessary achieved the desired setting.
NOTE: Figure 10-5, Accessories & Sensors Location; Figure 10-6, Print
Position Reference Diagram; and Figures 10-7 through 10-19, Print
Operation Sequence in the Diagram & Schematics Section provide additional
instruction.
NOTE: Only the stop position is changed with the Offset potentiometer. The
print position is changed using the Pitch potentiometer.
NOTE: The Offset potentiometer is located on the Operator Panel of the front
housing cover.
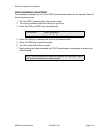
LCD DISPLAY: INITIALIZING ROM V00.00.00.00
LCD DISPLAY: TEST PRINT MODE
CONFIGURATION
LCD DISPLAY: TEST PRINT SIZE
10
CM