


Section 5: Printer Configuration
M84Pro Service Manual PN: 9001111A Page 5-12
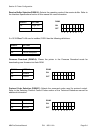
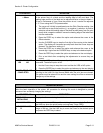
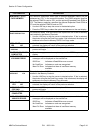
ZERO SLASH
YES NO
This setting determines if a zero is printed with or without a slash. This setting
can also be controlled via software commands. When YES is selected, the
printer internal fonts will have a slash through the center of the zero character.
1. Use the LINE key to step the cursor to either the YES or NO option.
2. Press the FEED key to select the option and advance to the Auto Online
display.
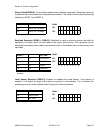
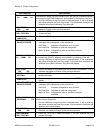
AUTO ONLINE
YES NO
This setting determines the mode in which the printer powers up. If YES is
selected, the printer powers up in the ON-LINE mode and is ready to print. If
NO is selected, the printer powers up in the OFF-LINE mode and must be
manually placed in the ON-LINE mode by pressing the LINE key before it is
ready to print.
1. Use the LINE key to step the cursor to either the YES or NO option.
2. Press the FEED key to select the option and advance to the Print Offset
display.
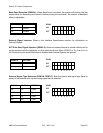
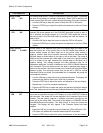
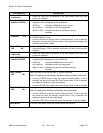
PRINT OFFSET
V:+0000 H:+0000
Vertical Offset is the distance down from the leading edge (the edge of the
label that comes out of the printer first) to the first vertical print position. A
positive setting moves the label edge out of the printer while making it
negative moves it back into the printer. Horizontal Offset is the distance that
the label image is shifted either to the right or left on the label. The image is
shifted to the left (towards the inside edge of the label) for a positive setting
and it is shifted to the right (towards the outside edge of the label) for a
negative setting. This setting changes the base reference point for all
subsequent label jobs. It’s effect is identical to the <ESC>A3 Base Reference
point command. Since the printer moves the label in discrete steps equal to
the size of the print dot, the units of measure for Vertical and Horizontal Offset
distance is dots. The maximum values that can be set is 3600 for vertical
offset and 3199 for horizontal. If the allowable limit is exceeded, the printer will
not accept the selection.
1. Use the LINE key to step the cursor to the desired option. The display will
increment one step for each time a LINE key is pressed.
2. Press the FEED key to select the option and advance to the next display
3. Repeat step 1 and 2 for character requirement.
4. Press the ENTER key to select the option and advance to the next display
Note: This setting can be overriden by the Base Reference Point Command.
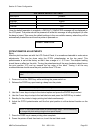
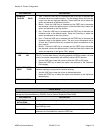
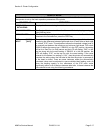
SET CALENDAR
YES NO
The Calendar is a optional feature in the M10e printer allowing the date and
time to be set manually using the LCD Display or via the <ESC>WT Calendar
Set command. This screen will not be displayed if the Calendar Option is not
installed. The last setting (manual or software command) received by the
printer will be the value used. The format of the display is YY/MM/DD hh:mm
(Year/Month/Day/hours:minutes). The date format is fixed and cannot be
changed. This display will only appear if the Calendar Option has been
installed.
1. Press the LINE key to step the cursor to either the YES or NOoption. The
YES option will enable the Calendar feature and NO will disable.
2. Press the FEED key to select the option and advance to the next display
LCD DISPLAY DEFINITION