Section 5: Printer Configuration
M84Pro Service Manual PN: 9001111A Page 5-20
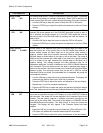
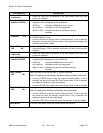
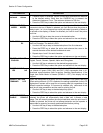
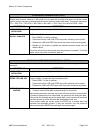
FORWARD/BACKFEED
DISTANCE XXXmm
3. If Manual option is selected, use the Cursor keys to advance the distance
to the desired setting. Each time the CURSOR key is pressed, the
distance will advance 1 mm. The maximum distance is 255 mm.
4. Press the FEED key to select the option and advance to the next display
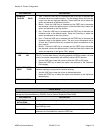
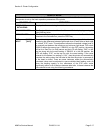
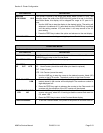
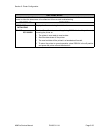
EXT PIN 9 SELECT
MODE1 MODE2
Allows selection of the conditions that cause the signal on Pin 9 of the EXT
connector to be true. If Mode1 is selected, pin 9 will be true when the printer is
ready to print, i.e. it is on-line and has a print job loaded (a quantity of labels to
be printed on the display). If Mode 2 is selected, pin 9 will be true if the printer
is on-line.
1. Use the LINE key to step the cursor to the desired option.
2. Press the FEED key to select the option and advance to the next display
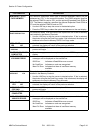
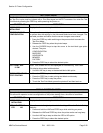
EURO CODE
D5
Allows the dexadecimal code to be specified for the character replaced with
the Euro Character. The default is D5H.
1. Use the LINE key to step to the desired option of the first character.
2. Press the FEED key to select the option and advance the cursor to the
second character of the desired hexadecimal code.
3. Repeat steps 1 and 2 for each character.
4. Press the FEED key to select the option and advance to the next display
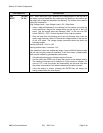
SELECT LANGUAGE
ENGLISH
Allows the selection of the character set used by the printer. The options are
English, French, German, Spanish, Italian and Portuguese.
1. Use the LINE key to advance to the desired language option.
2. Press the FEED key to select the option and advance to the next display
IGNORE CAN/DLE
YES NO
If the printer is placed in the Multi-Item Buffer Mode (DSW2-5 = ON), the user
can choose to ignore CAN (18H) and DLE (10H) commands used in bi-
directional communications (refer to section: Interface Specifications). If the
Single Item Buffer Mode is chosen (DSW2-5 = OFF), this display will be
skipped.
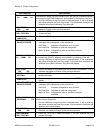
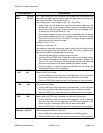
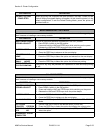
PRIORITY SETTING
COMMAND LCD
Allows the assignment of a priority for Print Darkness, Print Speed, and Print
Offset setting methods. If LCD is selected, the setting established via the LCD
display/menu system will be used for an incoming label job, regardless of any
different command settings. If Command is selected, any commands in the
label job will take precedence and be used for printing the job.
1. Use the LINE key to step to the desired priority option.
2. Press the FEED key to select the option and advance to the next display
LABEL RE-DETECT
ENABLE DISABLE
Allows disabling the feeding of a blank label upon power up. If Enable is
selected, the printer will automatically feed a label until it detects a label
image. This will correctly position the next printed label under the print head. If
Disable is selected, the printer will not attempt detection and the operator is
responsible for ensuring a correctly positioned label before printing.
1. Use the LINE key to step to the desired option.
2. Press the FEED key to select the option and advance to the next display
LCD DISPLAY DEFINITION


