


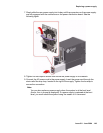
Maintenance
144 Avaya CMS Sun Fire V880 Computer Hardware Installation, Maintenance, and Troubleshooting
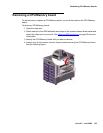
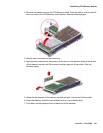
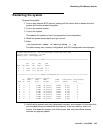
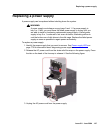
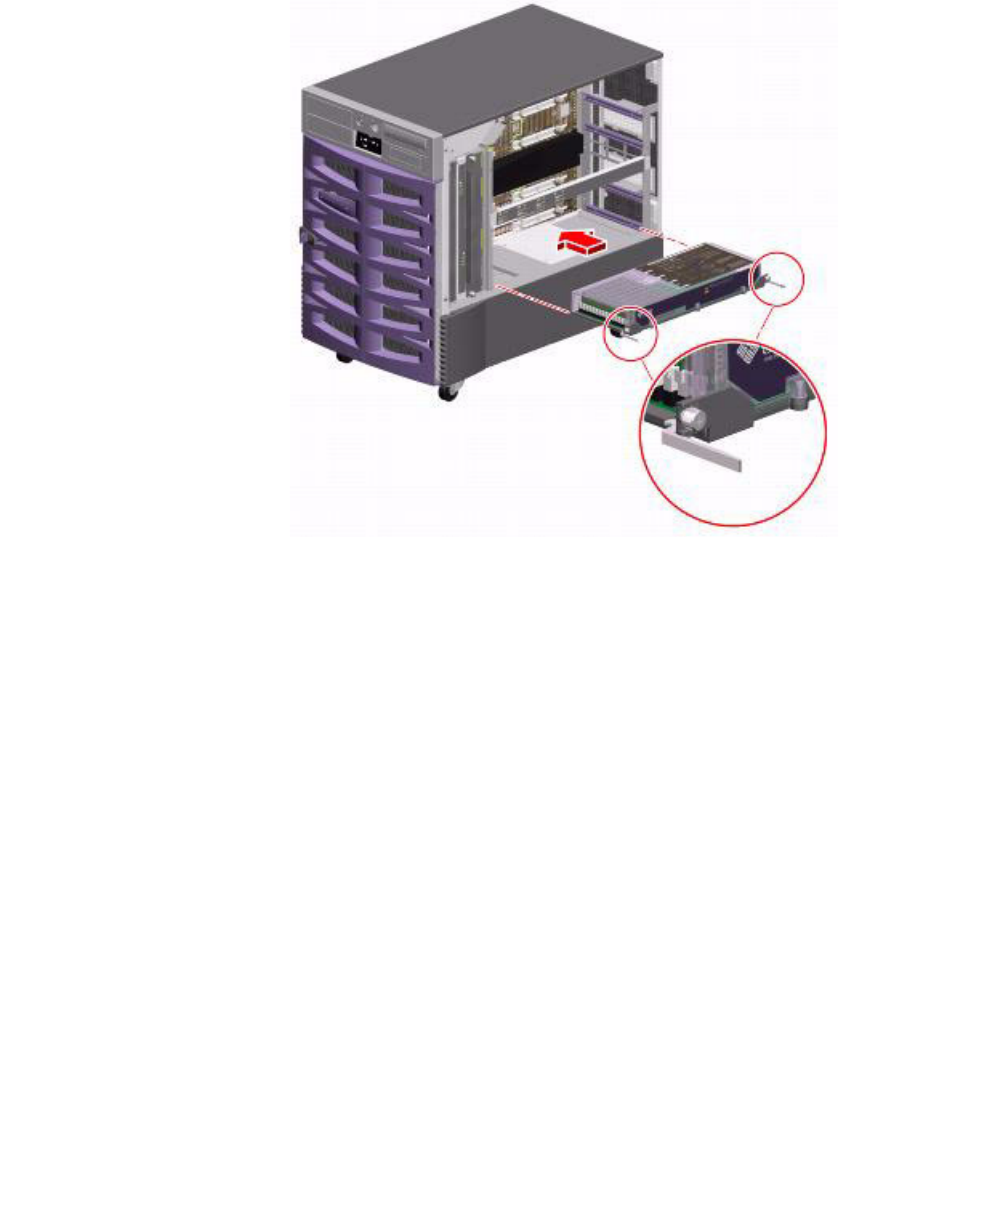
6. Make sure that the ejection levers on the CPU/Memory board are pointed out, rotated
at 90 degrees. See the following figure.
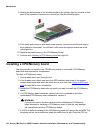
7. Slide the CPU/Memory board into the guides in the chassis. Slide the board into the
system until the connectors on the board begin to engage the sockets on the
motherboard and the ejection levers begin to contact the bracket.
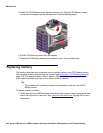
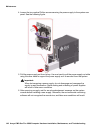
8. Push in the two ejection levers simultaneously until the board is fully engaged in its
slot.
9. Hand-tighten the two captive screws on the CPU/Memory board.
10. Using a No. 2 Phillips screwdriver, fully tighten the right captive screw and repeat for
the left captive screw.
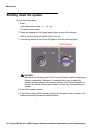
11. Remove the ESD wrist strap.
12. Close the side door.