


DFX-8500
Rev. B
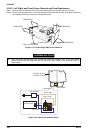
3-1
4
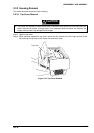
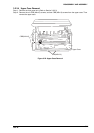
3.2.3.2 Left, Right, and Front Covers Removal and Fuse Replacement
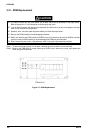
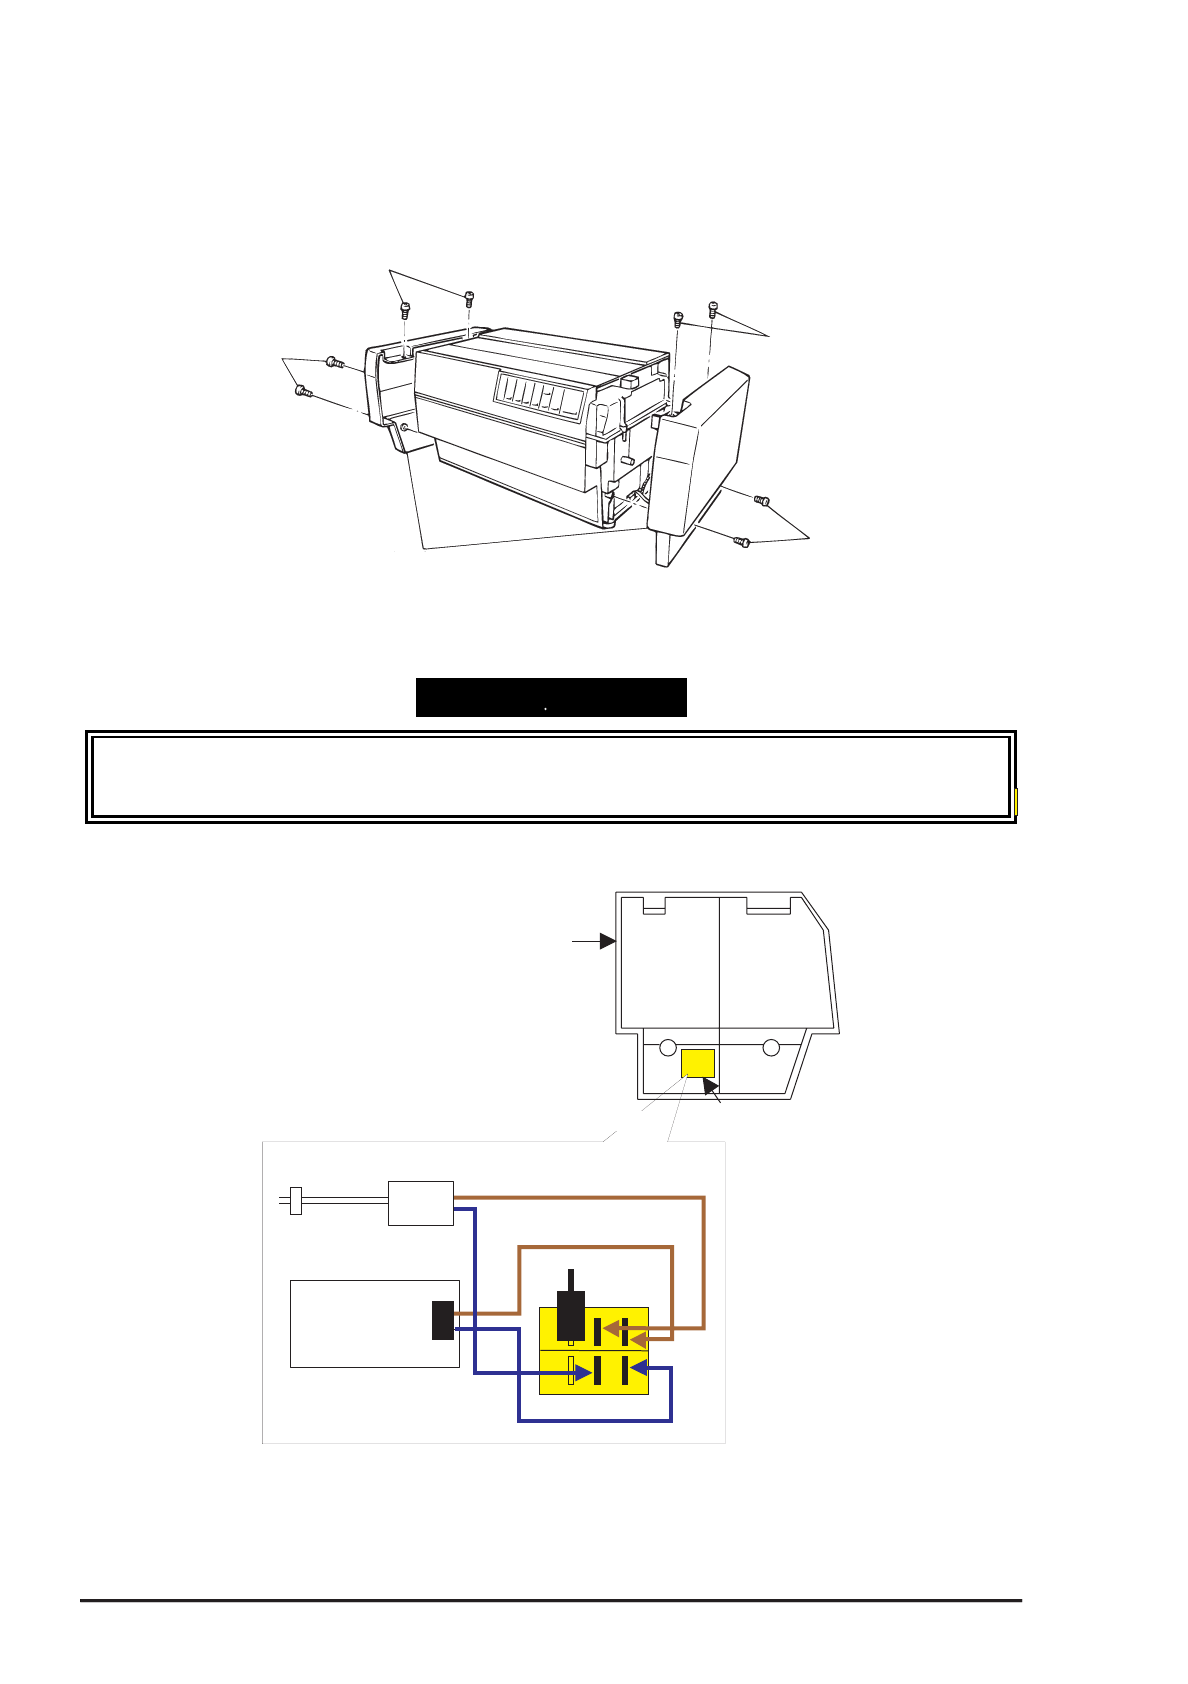
Step 1: Remove the four CBB (M4x16) screws securing the left side cover and remove the cover.
Step 2: Remove the right side cover in the same way as you removed the left side cover. Also remove the
four cables from the main switch on the right side cover.
CBB(M 4X16)
CBB(M 4X16)
CBB(M 4X16)
CBB(M 4X16)
R ight and Left C overs
Figure 3-17. Left and Right Side Covers Removal
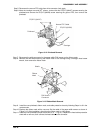
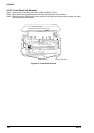
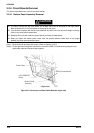
ASSEMBLING POINT
z
When you attach the right side cover, connect the cable from connector CN1 on the C204 power
supply board unit and the cable from the AC inlet to the main switch on the right side cover, as
shown below.
M a in S w itc h
R everse side of
the side cover (R)
A C In le t S e t
C 204 Pow er
Supply Board
11
12
24
25
CN1
Brow n cable
Blue cable
Brow n cable
Blue cable
M agnification
Figure 3-18. Cabling for the Main Switch