


DFX-8500
Rev. B
3-1
8
3.2.4 Circuit Boards Removal
This section describes how to remove the circuit boards.
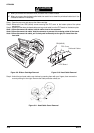
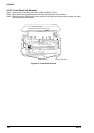
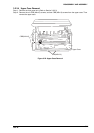
3.2.4.1 Bottom Panel Assembly Removal
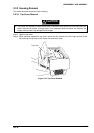
CAUTION
;
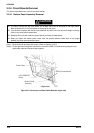
It is best to remove the top cover before you tilt back the printer as described in the steps below.
Refer to Section 3.2.3.1 for instructions on removing the top cover.
;
If you tilt back the printer with the top cover attached, be careful not to put too much weight on the top
cover or any other printer components.
;
Spread a thick, soft cloth under the printer before you follow the steps below.
;
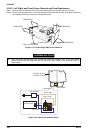
When you attach the bottom panel, make sure the parallel interface cable latch is not caught
between the lower case and bottom panel.
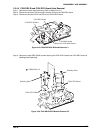
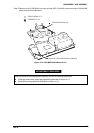
Step 1: Remove the left and right side covers. (Refer to Section 3.2.3.2)
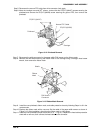
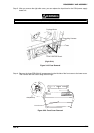
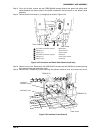
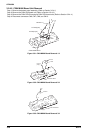
Step 2: On the right side of the printer mechanism, remove the CBS (O) screw securing the green and
yellow earth cable and the earth plate together.
Earth C able
CBS(O) Screw(M 4x8)
C204 PSB/PSE
Board
(R ig h t s id e )
Bottom Panel
Assem bly
Figure 3-23. Connector and Earth Cable Removal (right side)