


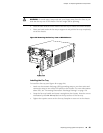
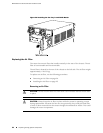
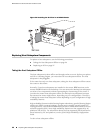
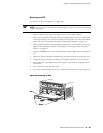
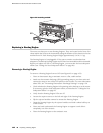

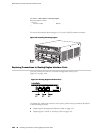
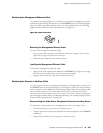
Installing an SCB
To install an SCB (see Figure 44 on page 102):
1. Attach an electrostatic discharge (ESD) grounding strap to your bare wrist and
connect the strap to one of the ESD points on the chassis. For more information
about ESD, see “Preventing Electrostatic Discharge Damage” on page 130.
2. Carefully align the sides of the SCB with the guides inside the chassis.
3. Slide the SCB into the chassis until you feel resistance, carefully ensuring that it
is correctly aligned.
4. Grasp both ejector handles and rotate them simultaneously clockwise until the
SCB is fully seated.
5. Place the ejector handles in the proper position, horizontally and toward the
center of the board.
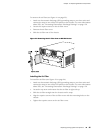
6. To verify that the SCB is functioning normally, check the LEDs on its faceplate.
The green OK/FAIL LED should light steadily a few minutes after the SCB is
installed. If the OK/FAIL LED is red, remove and install the SCB again (see
“Removing an SCB” on page 99 and “Installing an SCB” on page 100). If the
OK/FAIL LED still lights steadily, the SCB is not functioning properly. Contact
your customer support representative.
100 ■ Replacing Host Subsystem Components
MX240 Ethernet Services Router Hardware Guide