Interfaces and Daughterboards124
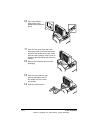
1
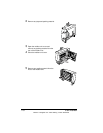
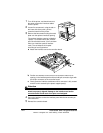
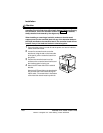
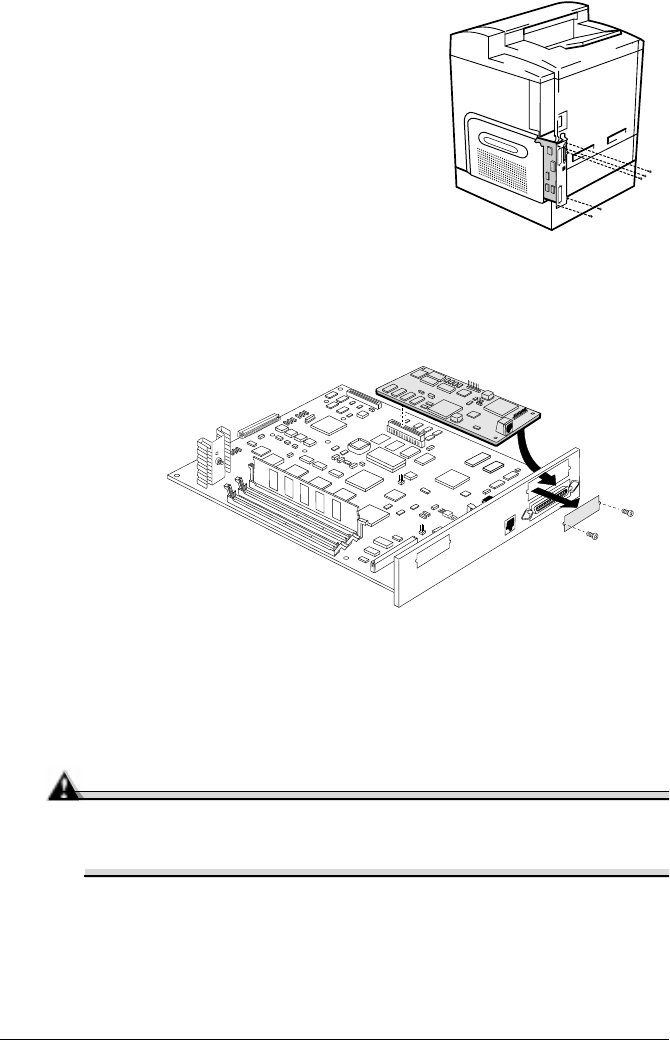
Turn off the printer, and then disconnect
the power cord and all interface cables
from the printer.
2
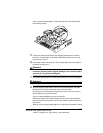
Loosen five screws and, using the tab on
the lower side of the panel, pull the
controller board from the printer.
3
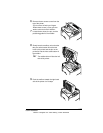
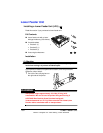
Remove the two screws holding the metal
plate over the optional interface opening.
The optional interface opening is labelled
“Option.” It’s located next to the “Parallel”
port. Save the two screws. (You’ll use them
when you install the optional interface
card.) You can dispose of the plate
according to local regulations.
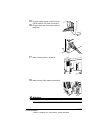
a
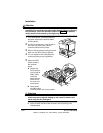
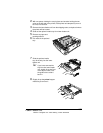
Attach the interface card to the controller board.
b
Position the interface card so that its I/O connector slides into its
opening in the interface panel and that its 80-pin connector aligns with
the 80-pin connector on the controller board.
c
Gently press the interface card down until its connector is fully seated
and the card is secured by the plastic support post(s).
Attention
Make sure that the connectors on the interface card and controller
board are properly aligned. Damage to the interface card and/or
controller board could result if the pins are misaligned.
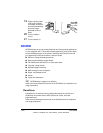
4
Secure the interface card to the interface panel with the two screws you
removed earlier.
5
Reinstall the controller board.
IIIIIIIIIIIIIIIIIIIIIIIIIIIIIIIIIIIIIIIIIIIIIII IIIIIIIIIIIIIIIIIIIIIIIIIIIIIIIIIII IIIIIIIII
................................................ ........................ ..........
................................................ ........................ ..........
................................................ ........................ ..........
................................................ ........................ ..........
EDNord - Istedgade 37A - 9000 Aalborg - telefon 96333500


