Internal IDE Hard Disk Drive128
Installation
Attention
It’s very important to protect the printer controller board and any
associated circuit boards from electrostatic damage. Before performing
this procedure, review the antistatic caution on page 105. In addition,
always handle circuit boards by the edges only.
When installing or removing a hard disk, make sure that the metal
support posts (on the hard disk) don’t hit any of the electrical leads on
the chips mounted on the controller board. The controller board will not
function if any of the leads are broken or shorted together.
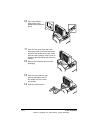
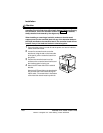
1
Ensure that the printer is turned off and the power cord and all interface
cables are disconnected.
2
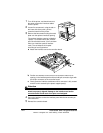
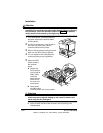
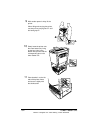
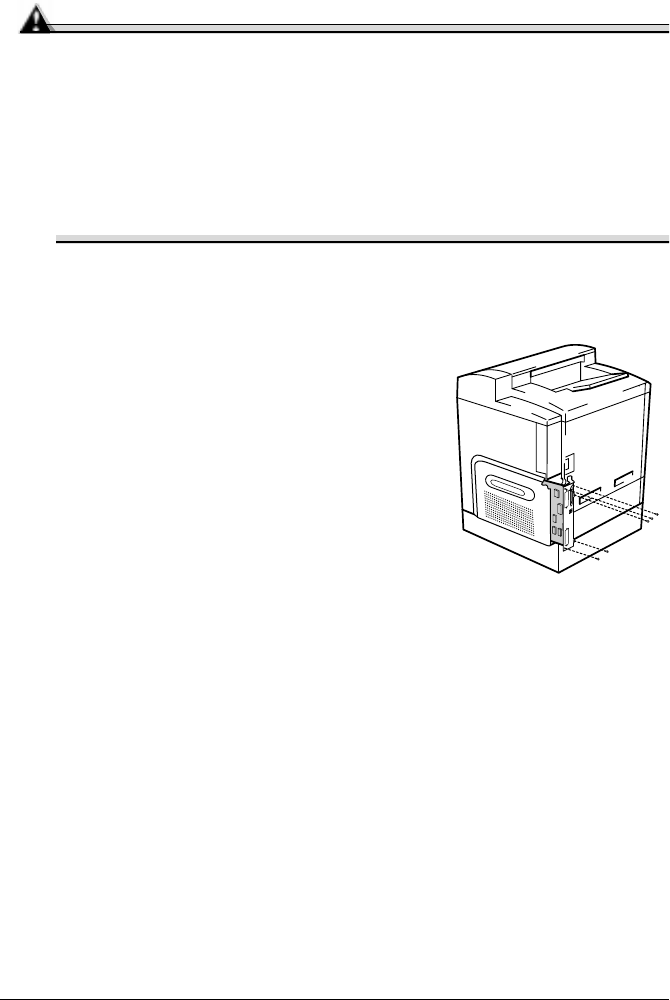
Loosen five screws from the controller
board and, using the tab on the lower side
of the panel, pull the controller board from
the printer.
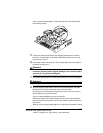
3
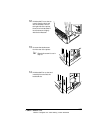
Position the controller board on a flat
surface so the controller board lies flat and
the interface panel is facing you.
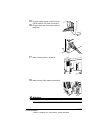
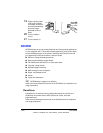
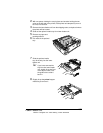
4
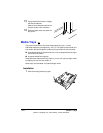
Attach the IDE hard disk to the hard disk
bracket.
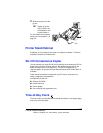
Attach the IDE hard disk to the bracket with
the grooved-end of the bracket facing the
ribbon cable. The screw holes in the bottom
of the hard disk should match up with the
EDNord - Istedgade 37A - 9000 Aalborg - telefon 96333500


