RuggedRouter® User Guide
6) Save it.
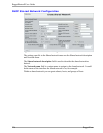
7) Edit the shared network again.
8) Add a new subnet, and configure it for network address 192.168.2.0 with
netmask 255.255.255.0
9) Save the new subnet and then save the shared network settings.
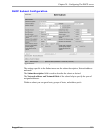
10) Edit the subnet just created and click 'Edit Client Options'.
11) Set default routers to 192.168.2.1 and save it.
12) Click 'add an address pool' to the subnet.
13) Set the address range to 192.168.2.101 to 192.168.2.200.
14) Click 'Create'.
15) Edit the pool by clicking on the link for the pool with address range
192.168.2.101 - 192.168.2.200.
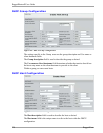
16) Click 'add an option82 client'.
17) Give the client a unique alpha numeric name (for example subnet0102).
18) Set the remote id to the switch MAC address (00:0A:DC:11:22:00 in this
case).
19) Set the circuit id to the switches circuit id identifier to the port (00:02:00:02
for VLAN 2 port 2 on a RuggedCom switch).
20) Click 'Create'.
21) Click 'Save'.
22) Repeat steps 8) through 20) for vlan3 through vlan4 changing the subnet,
default routers, pool address range and circuit id for each vlan.
23) Restart the DHCP server or apply changes.
224 RuggedCom


