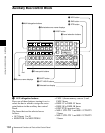
Chapter 2 Menus and Control Panel
202
Names and Functions of Parts of the Control Panel
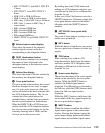
stop it there, then press this button to
set the pattern limit range. This button
is enabled when the [PTN LIMIT]
button is off.
PTN (pattern) LIMIT: When a wipe or
DME wipe is selected, pressing this
button, turning it on, enables the
pattern limit function.
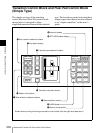
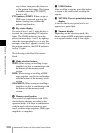
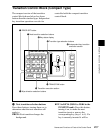
f Key status display
For each of keys 1 and 2, when the key is
inserted, the corresponding ON indicator
lights. The OVER indicators show the
priority between keys 1 and 2, by lighting
when the corresponding key is on top. For
example, when key 1 appears over key 2 on
the program monitor, the OVER indicator
for key 1 lights.
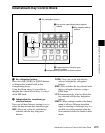
The following is the Flexi Pad control
block.
g Mode selection buttons
WIPE: When saving or recalling a wipe
snapshot, use this in combination with
the buttons of the memory recall
section.
DME: When saving or recalling a DME
wipe snapshot, use this in combination
with the buttons of the memory recall
section.
SNAPSHOT: When saving or recalling a
snapshot, use this in combination with
the buttons of the memory recall
section.
h Memory recall section
This consists of eight buttons with LCDs,
whose display changes according to the
operation mode. Use these in combination
with the mode selection buttons to save,
recall, or delete wipe snapshots, DME wipe
snapshots, or snapshots.
i UNDO button
After recalling a register, press this button
to return to the state before recalling the
register.
j XPT HOLD (cross-point hold) status
display
A bus for which cross-point hold is set
appears as a green light.
k Numeric display
Depending on the operation mode, this
shows a wipe or DME wipe pattern number,
or a register number in up to four digits.


