20060301
10-2 Creating an eActivity
This provides a general overview of eActivity operations, from starting up the eActivity
application to saving an eActivity file. It also presents precautions you need to keep in mind
when managing eActivity files.
Basic Steps for Creating an eActivity
The following are the basic steps you need to perform when creating an eActivity. Detailed
information about each step is provided in the other sections of this chapter.
u
ClassPad Operation
(1) Tap
m
to display the application menu, and then tap
A
to start the eActivity
application.
• This displays the eActivity window as it appeared the last time it was used.
• If you are already in the eActivity application and there is data on the display, tap [File]
and then [New]. Note that [New] clears data from the display without saving it.
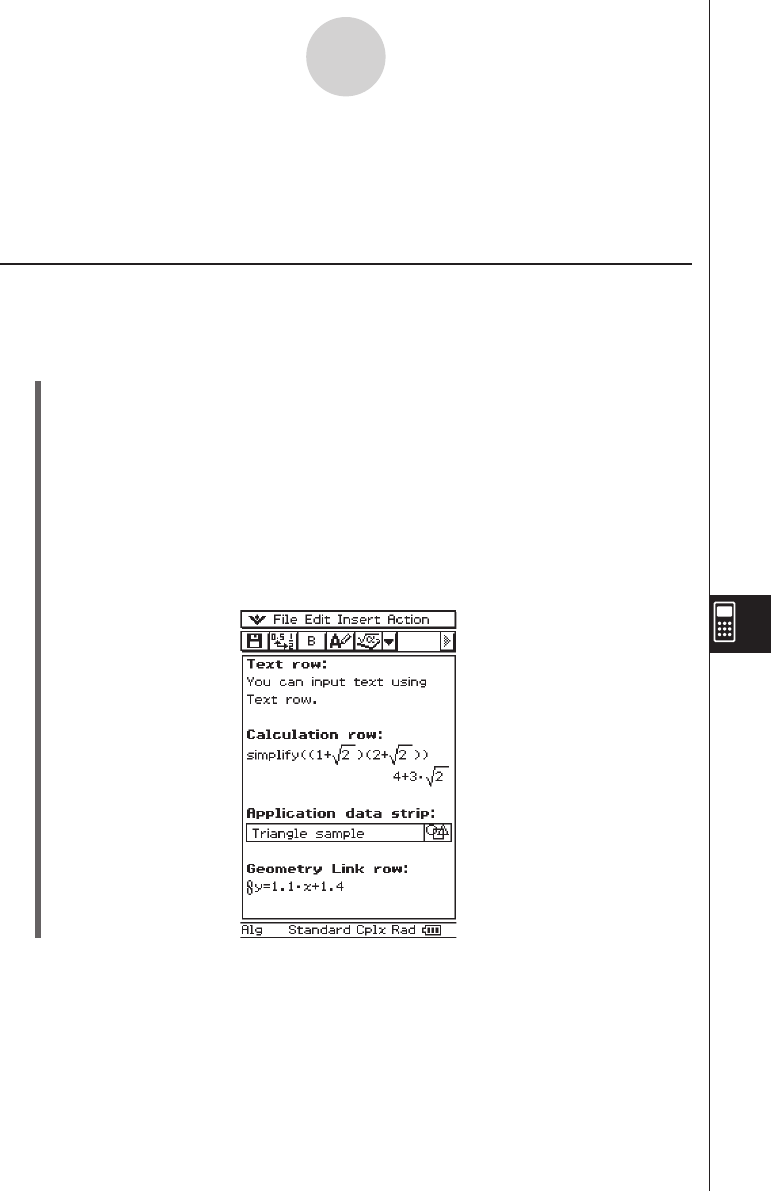
(2) On the eActivity window, insert the text, expressions, application data, and other data
you want to include in the eActivity.
• There are four types of data you can insert into an eActivity: text rows, calculation
rows, Geometry Link rows, and application data strips. For details about inserting
each type of data, see “10-3 Inserting Data into an eActivity”.
10-2-1
Creating an eActivity


