Desktop Computer 117
c
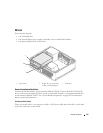
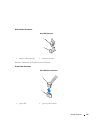
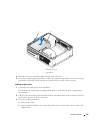
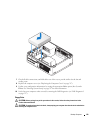
Lift the drive release latch up and insert the new optical device.
4
If you are replacing an existing drive:
a
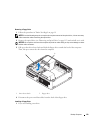
Follow procedures in "Removing an Optical Drive" on page 115 to remove the existing drive.
b
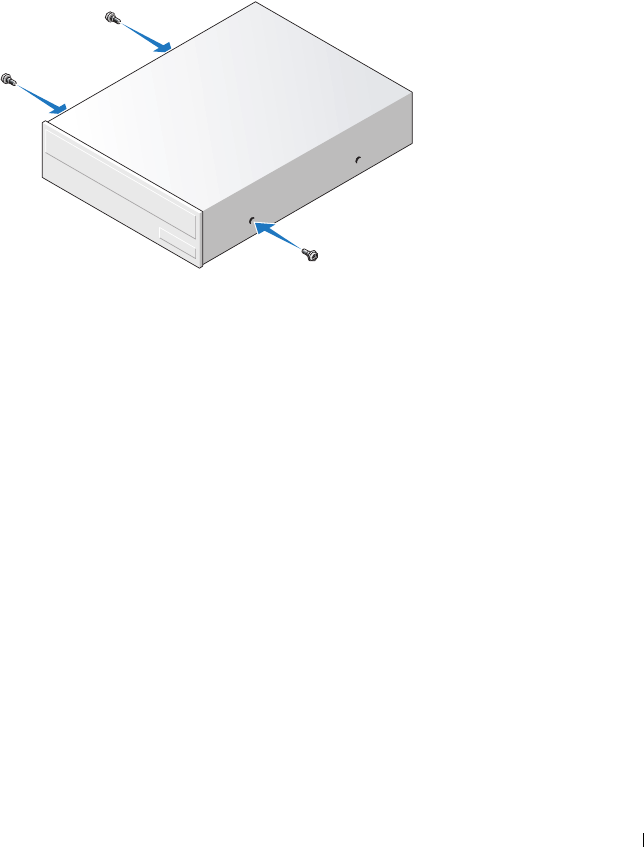
Remove the three shoulder screws from the existing drive.
c
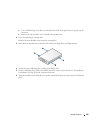
Insert the three shoulder screws into the sides of the new drive and tighten them.
5
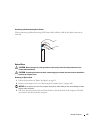
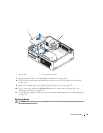
Connect the power and data cables to the drive.
6
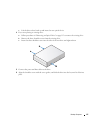
Align the shoulder screws with the screw guides, and slide the drive into the bay until it clicks into
place.


