170 Desktop Computer
6
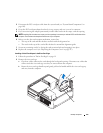
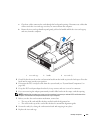
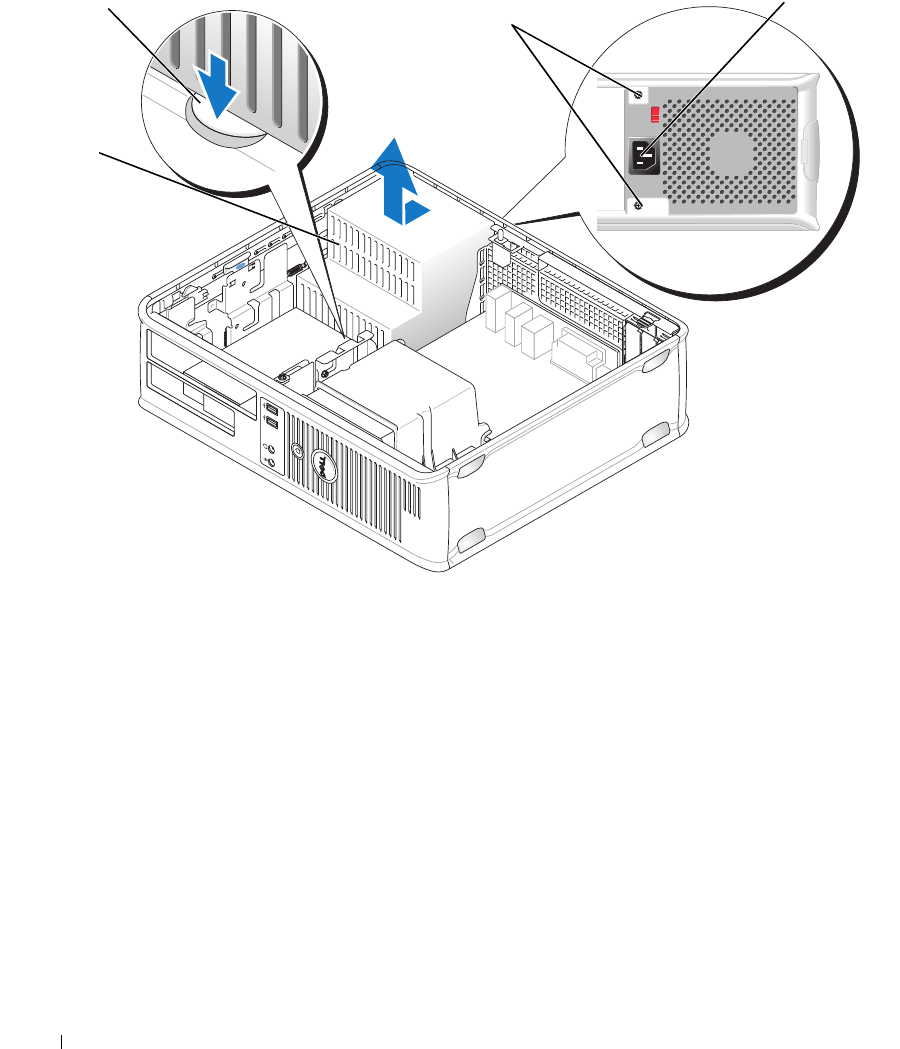
Slide the power supply toward the front of the computer by approximately 1 inch.
7
Lift the power supply up and out of the computer.
8
Slide the replacement power supply into place.
9
Replace the screws that secure the power supply to the back of the computer chassis.
10
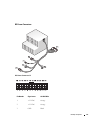
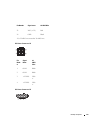
Reconnect the DC power cables (see "System Board Components" on page 102 for connector
locations).
11
Replace the optical drive (see "Installing an Optical Drive" on page 116).
12
Replace the computer cover (see "Replacing the Computer Cover" on page 297).
13
Connect the AC power cable to the AC power connector.
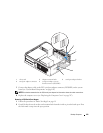
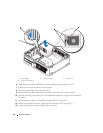
1 power supply 2 release button 3 screws (2)
4 AC power connector
1
2
3
4


