


28 2 - Installing accessories ENWW
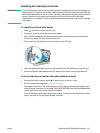
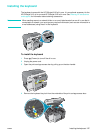
5 Close the print-carriage access door.
6 Press and release the front of the keyboard tray to open the tray.
7 If there is a cover over the keyboard tray, remove the cover by pressing the two release
latches on the underside of the tray.
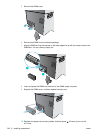
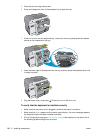
8 Insert the back edge of the keyboard into the tray, and then press the keyboard down until
it snaps into place.
9 Plug the power cord in and press (P
OWER) to turn on the all-in-one.
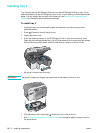
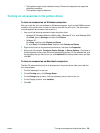
To verify that the keyboard is installed correctly
1 Make sure that the power cord is plugged in and that the power is turned on.
2 Make sure that READY appears on the control-panel display. If an error message appears,
the keyboard might have been installed incorrectly.
3 Print a Configuration page (see Configuration page). If the keyboard is not listed, one of
the following problems might have occurred: