Mac OS
297
9
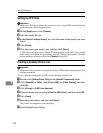
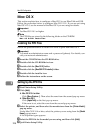
Installing Screen fonts
Follow the procedure below to install screen fonts.
The screen fonts described below can be found in the [Fonts] folder on the CD-ROM.
A Start a Mac OS.
B Insert the CD-ROM into the CD-ROM drive.
The CD-ROM drive icon appears.
C Double-click the CD-ROM drive icon.
The contents of the CD-ROM appear.
D Double-click the [Mac OS 8 and 9] folder.
E Double-click the [Fonts] folder.
F Double-click the [Screen font] folder.
G Double-click the [TrueType] or [Type1] folder.
Select the font type you want to use.
H Copy the fonts you want to install in [Fonts] under [System Folder].
A confirmation message appears.
I Click [OK].
The fonts are installed.
J Restart the Mac OS.
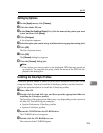
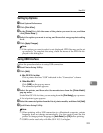
Changing to EtherTalk
Follow the procedure below to configure to a Mac OS to use EtherTalk.
A Open [Control Panel], and then double-click the AppleTalk icon.
B On the [Connect via:] pop-up menu, click [Ethernet].
C If you change zones, select a name on the [Current zone:] pop-up menu.
D Close the AppleTalk control panel.
E Restart the computer.
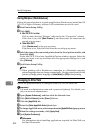
Note
❒ The procedures used to configure Mac OS may vary depending on the Mac
OS version. The following describes how to configure Mac OS 9.1. If you
are using a different version of Mac OS, use the following procedures as a
reference and see the manuals for your Mac OS version.
❒ Confirm the Connection to the Printer with TCP/IP.
Reference
For information about installing applications required for EtherTalk, see
the Mac OS manuals.


