13
PRINTER SHARING
2
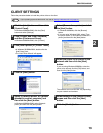
CLIENT SETTINGS
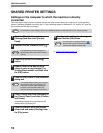
Follow the procedure below to install the printer driver on the client.
1
Click the [start] button and then click
[Control Panel].
In Windows 95/98/Me/2000, click the [Start]
button and select [Settings].
2
Click [Printers and Other Hardware]
and then [Printers and Faxes].
In Windows 95/98/Me/2000, click [Printers].
3
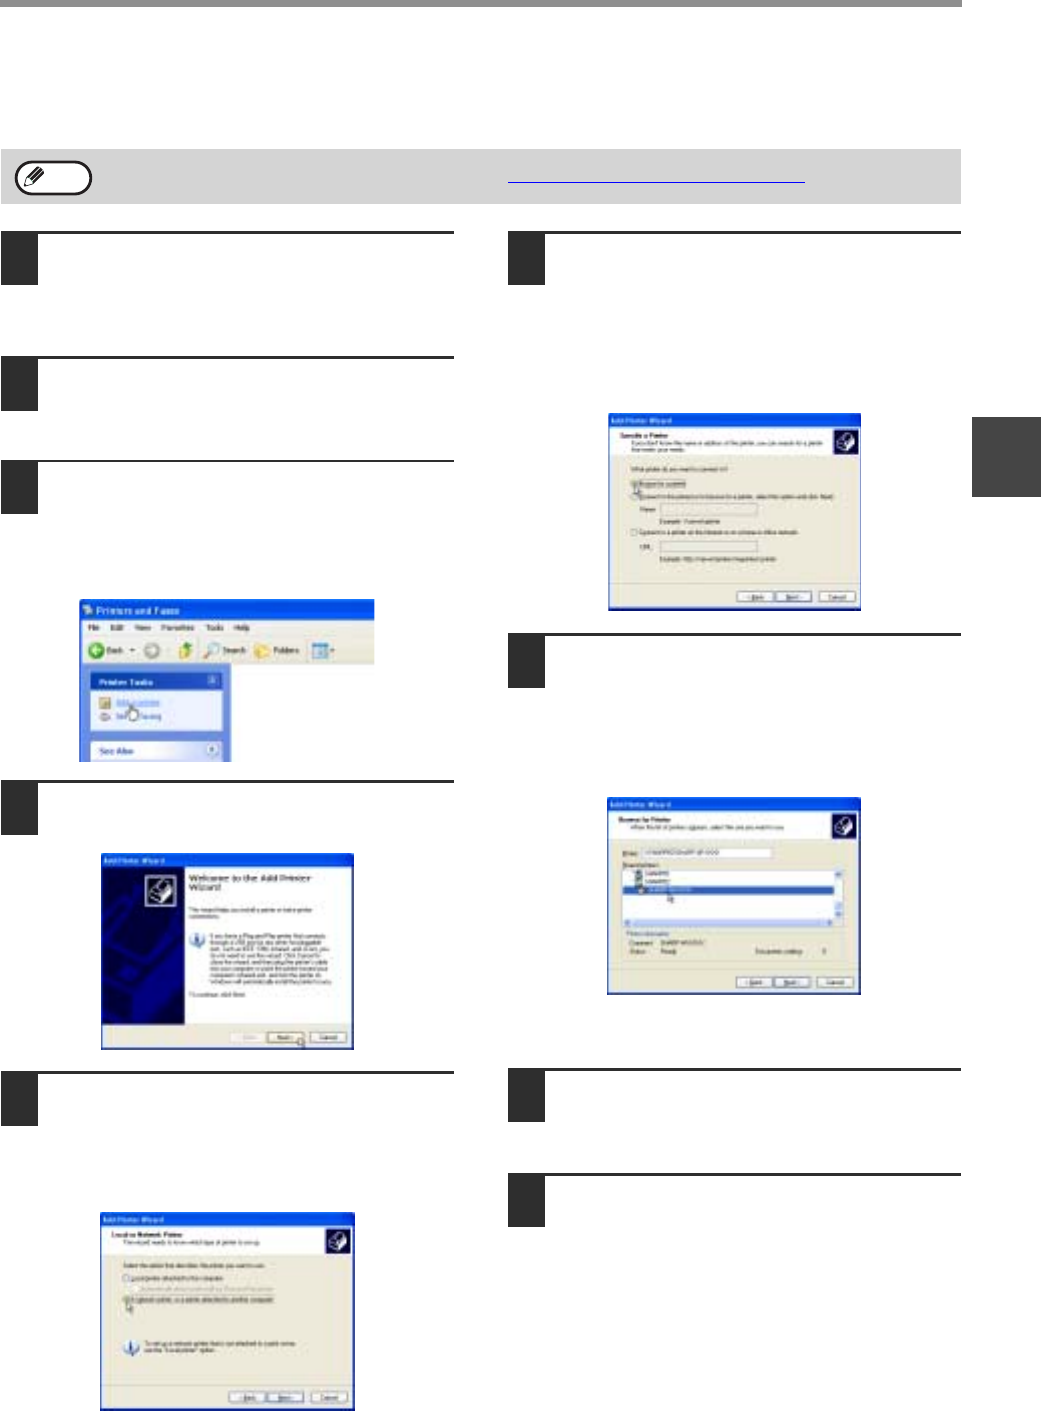
Click [Add a printer] in [Printer Tasks].
• In Windows 95/98/Me/2000, double-click the
[Add Printer] icon.
• The "Add Printer Wizard" will appear.
4
Click the [Next] button.
5
Select [A network printer, or a printer
attached to another computer] and
then click the [Next] button.
In Windows 95/98/Me/2000, select [Network
printer] and then click the [Next] button.
6
Select [Browse for a printer] and click
the [Next] button.
• In Windows 95/98/Me, click the [Browse]
button.
• If you are using Windows 2000, select [Type
the printer name, or click Next to browse for a
printer] and then click the [Next] button.
7
Select the printer to be shared in the
network and then click the [Next]
button.
If you are using Windows 95/98/Me, select the
printer to be shared, click the [OK] button, and
then click the [Next] button.
The contents of this window will vary depending
on your network environment.
8
Select settings in the [Default Printer]
screen and then click the [Next]
button.
9
Click the [Finish] button.
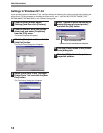
If your operating system is Windows NT 4.0, refer to "Settings in Windows NT 4.0" (page 14).
Note


