100
KEY OPERATOR PROGRAMS
3
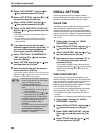
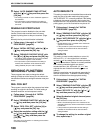
Select "AUTO SUMMER TIME SETTING"
with the [ ] or [ ] key and then press the
[OK] key.
• The setting is turned on and a checkmark appears in
the checkbox.
• If this procedure is performed when the setting is
turned on, the checkmark is cleared and the setting
turned off.
DISABLE FAX PRINT HOLD
This program is used to disable the fax print hold
function, which holds received faxes in memory
instead of printing them as they are received. (Page
30)
Normally the fax print hold function is disabled.
1
Follow steps 1 through 6 of "INITIAL
PROCEDURE" (page 94).
2
Select "INITIAL SETTING" with the [ ] or
[ ] key and press the [OK] key.
3
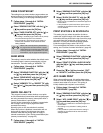
Select "DISABLE FAX PRINT HOLD" with
the [ ] or [ ] key and press the [OK] key.
• The setting (which disables fax print hold) is enabled
and a checkmark appears in the checkbox.
• If this procedure is performed when the setting is
enabled, the checkmark will be cleared and the
setting disabled (fax print hold is enabled).
SENDING FUNCTION
These programs are used to change the default
settings (initially set at the factory) for the various fax
transmission functions to settings that better meet your
needs.
RES. CON. SET
This program is used to adjust the exposure level when
scanning an original to be faxed. The initial setting is
standard resolution and auto exposure mode.
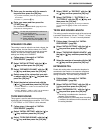
1
Follow steps 1 through 6 of "INITIAL
PROCEDURE" (page 94).
2
Select "SENDING FUNCTION" with the [ ]
or [ ] key and then press the [OK] key.
3
Select "RES. CON. SET" with the [ ] or
[ ] key and press the [OK] key.
4
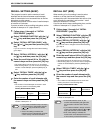
Select the resolution setting with the [ ]
or [ ] key and the exposure mode with
the [ ] or [ ] key, and then press the
[OK] key.
See page 15 for information on selecting the resolution
and contrast settings.
AUTO REDUCE TX
This setting is used to have transmitted faxes reduced to
match the size of the other machine's printing paper.
"AUTO REDUCE TX" is normally enabled. If the setting
is disabled, documents are faxed in their original size.
Because the size is not adjusted to match the size of the
printing paper, part of the received fax may be cut off.
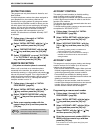
1
Follow steps 1 through 6 of "INITIAL
PROCEDURE" (page 94).
2
Select "SENDING FUNCTION" with the [ ]
or [ ] key and then press the [OK] key.
3
Select "AUTO REDUCE TX" with the [ ] or
[ ] key and then press the [OK] key.
• "AUTO REDUCE TX" is enabled and a checkmark
appears in the checkbox.
• If this procedure is performed when the setting is
enabled, the checkmark will be cleared and the
setting disabled.
ROTATE TX
This setting is used to select whether or not an A4,
A5R or 8-1/2" x 11" size original that is oriented
vertically will be rotated to a horizontal orientation
before transmission. Rotation is normally enabled,
and vertically oriented originals are rotated
counterclockwise. (A4, A5R and 8-1/2" x 11" size
originals that are oriented horizontally are not
rotated.)
Rotation transmission can be selected separately for
different original sizes. To disable a rotation setting,
clear the checkbox from the appropriate setting.
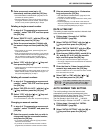
1
Follow steps 1 through 6 of "INITIAL
PROCEDURE" (page 94).
2
Select "SENDING FUNCTION" with the [ ]
or [ ] key and then press the [OK] key.
3
Select "ROTATE TX" with the [ ] or [ ]
key and then press the [OK] key.
4
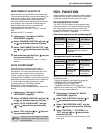
Select the desired original size and press
the [OK] key.
• Size selections are A4, A5R and 8-1/2" x 11".
• When a checkmark appears in the checkbox of the
selected original size, rotation transmission is enabled
for that size.
• If the procedure is performed when the setting is
enabled, the checkmark will be cleared and the
setting disabled.
5
To change the setting for another original
size, repeat step 4.


