9
BEFORE USING THE NETWORK SCANNER FUNCTION
1
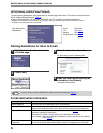
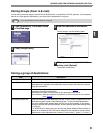
Storing Groups (Scan to E-mail)
You can send a scanned image to multiple e-mail destinations in a single Scan to E-mail operation. If you frequently
transmit to a fixed group of destinations, you can store the destinations as a group.
1
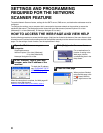
Click [Destination] in the menu frame
of the Web page.
2
Click [Group(E-mail)].
3
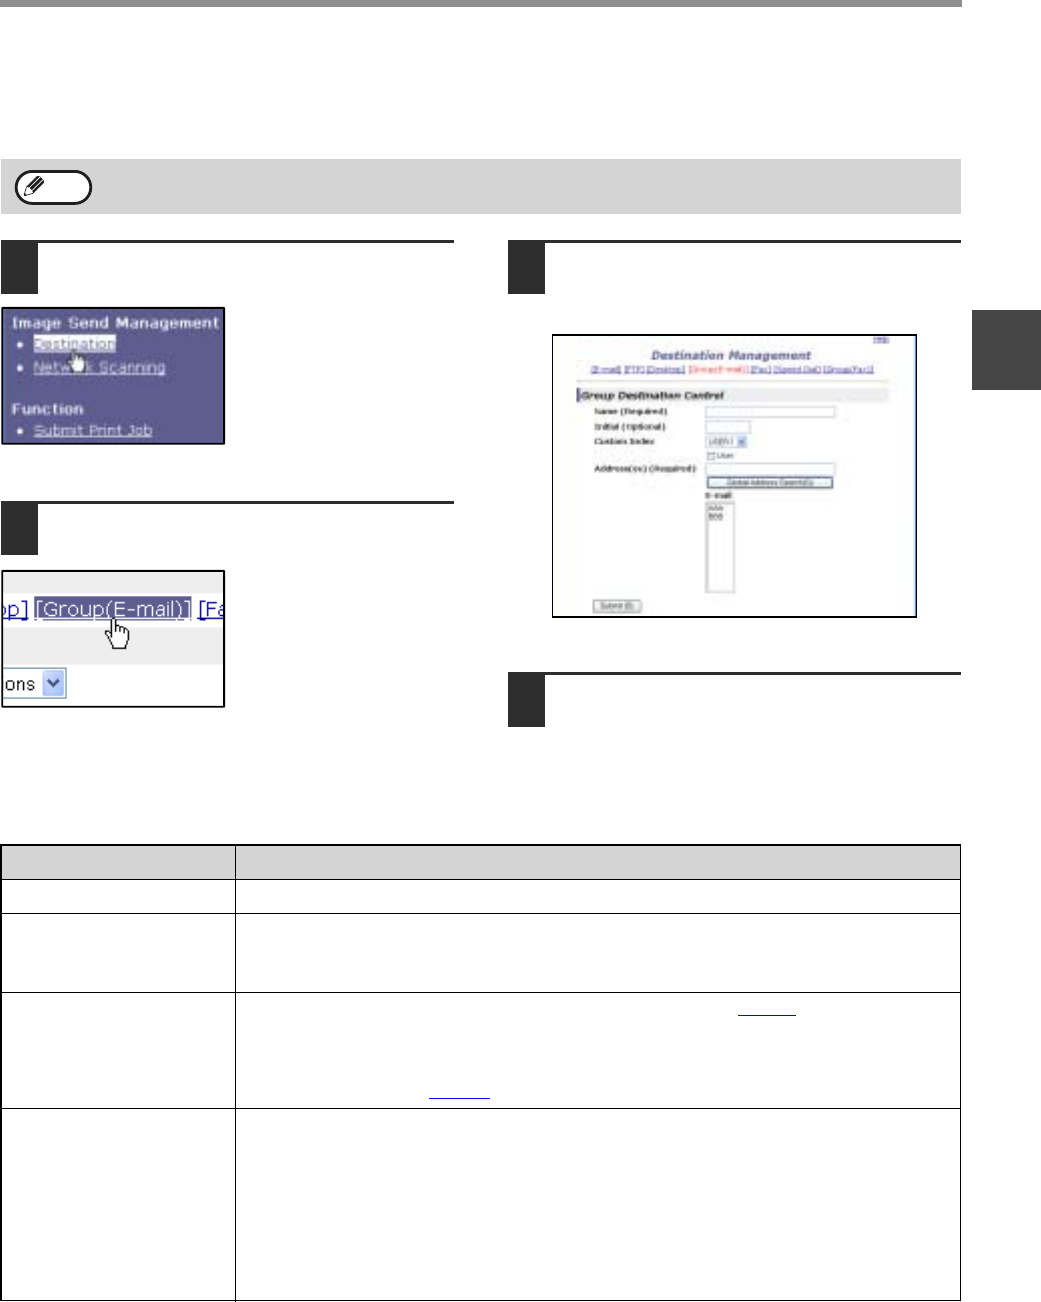
Enter the destination information.
For the settings, see the following table.
4
When you have completed all of the
entries, click [Submit].
The entries will be stored.
Storing a group of destinations
Up to 100 destinations can be stored in one group.
Note
Item Description
Name (Required) Enter a name for the group (up to 36 characters).
Initial (Optional) Enter initial text for the destinations (maximum of 10 characters). When the
destination list is displayed in the destination control screen, the initial text is used to
group the destinations.
Custom Index Names can be assigned to the custom indexes as desired (page 5
), allowing
convenient grouping of destinations.
Drop down list: Select a custom index for the destination to be stored.
User checkbox:
When this is selected, the destination is stored in the user tab of the address
book. (Page 22
)
Address(es) (Required) Select the address of each destination from the "E-mail" list box. Programmed e-mail
destinations appear in each of the destination lists. To select multiple destinations,
click each address while holding down the [Ctrl] key on the keyboard. If you need to
cancel an address that has been selected, click the address again while holding down
the [Ctrl] key.
If an LDAP server is being used, you can click the [Global Address Search] button to
search for an address on the LDAP server. Multiple e-mail addresses can be entered.
Separate the e-mail addresses with a comma (,), semi-colon (;), space ( ), or colon (:).


