Copyright © 2007 • MCL Technologies • All Rights Reserved
www.mcl-collection.com
Chapter 7 : Deploying a Printer Project
4 Click any of these action icons to display the related Script Detail
dialogue box
5 Edit the Script Detail dialogue with settings for this action as
described in Section
7.4 – Load File / Control
6 Click OK
The Script Detail action dialogue boxes are the same as the Load
File / Control action dialogue boxes with one main difference.
When you have completed editing the Load File / Control dialogue
box as described in Section 7.4, you click Load to perform the
action immediately on the connected printer.
In Scripting, when you have completed editing the Script Detail
dialogue box, you click OK to add the action to the Script. You
continue adding all the actions you want to the script. You save the
script to be executed at a later time.
Pause The Pause action is a Scripting action that is not available as a Load File
/ Control option in Section 7.4. Use the Pause as necessary between file
loads in your script. For example, if you load a large file into the printer,
you might want to delay a few seconds to give the printer time to save
the file to memory before proceeding to the next load action in the
script.
To insert a pause in your Script, on the Script tool bar click the
icon, or on the Script menu bar:
1 Click Script
2 Click Add
3 Select the Pause action
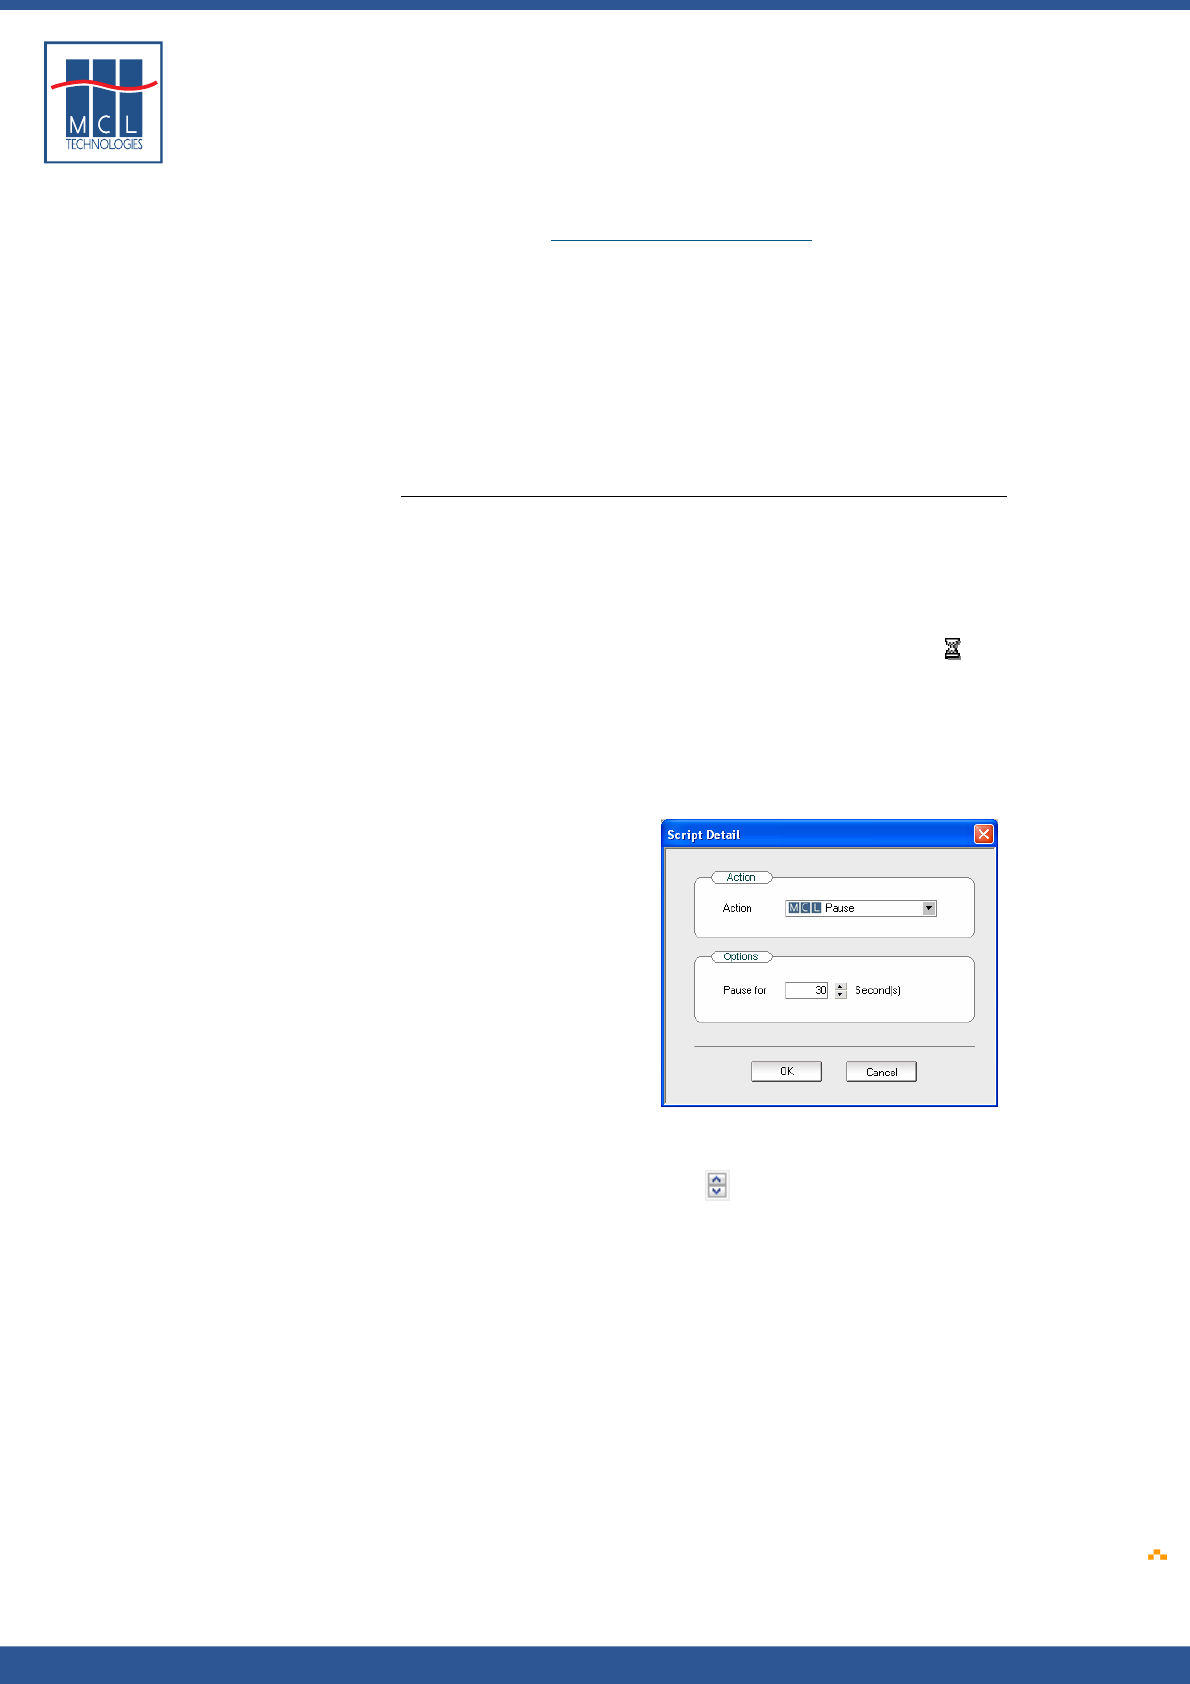
A Pause action dialogue box is displayed as shown here
Pause options
4 Edit the Pause for data entry field with the desired period of delay
or use the up and down arrows
beside the data entry field to
increment or decrement the value respectively. The period of delay
is measured in seconds.
5 Click OK
October 2007 Page
211


