


Color Printing Using The Optional Color Drum
89
2
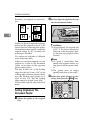
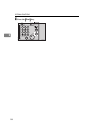
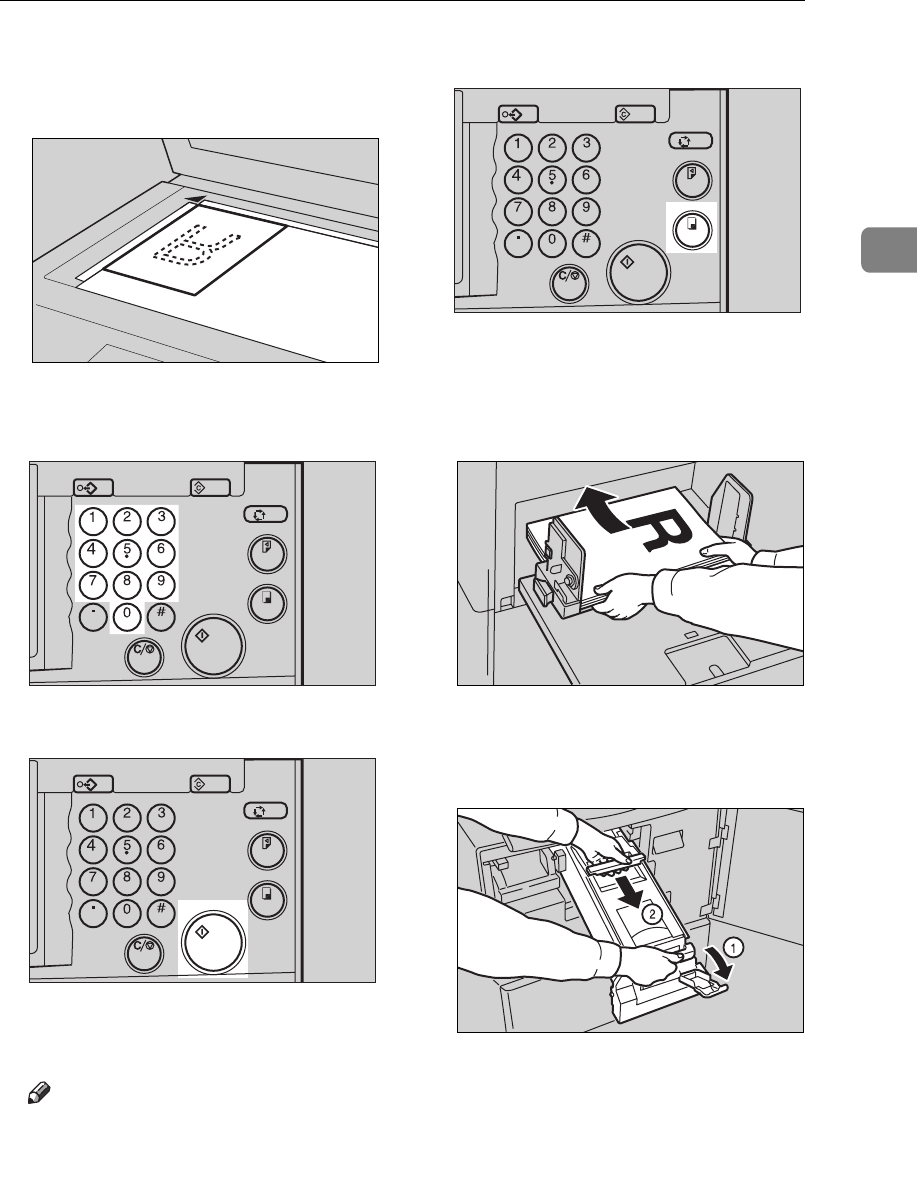
A Prepare the two originals. Set the
first original on the exposure
glass (contact glass).
B Enter the number of prints with
the Number keys.
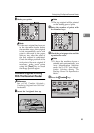
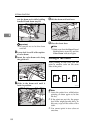
C Press the
{
{{
{
Start
}
}}
}
key.
D Check the image position of the
trial or proof print.
Note
❒
If the image position is not cor-
rect, adjust it using the
[
Image
=
]
key (see
⇒
P.25 “Adjusting
Print Image Position”).
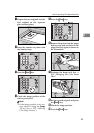
E Press the
{
{{
{
Print
}
}}
}
key.
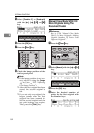
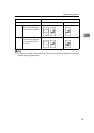
F Remove the prints from the paper
delivery tray and set them on the
paper feed tray again as shown in
the illustration.
G Exchange the drum unit. See
⇒
P.87
“Changing The Color Drum
Unit”
.
H Set the second original and press
the
{
{{
{
Start
}
}}
}
key.
I Check the image position.
J Press the
{
{{
{
Print
}
}}
}
key.
TPEH270E
Program Clear Modes
Auto Cycle
Proof
Print
Enter
Start
Clear/Stop
TPES040N
Program Clear Modes
Auto Cycle
Proof
Print
Enter
Start
Clear/Stop
TPES050N
Program Clear Modes
Auto Cycle
Proof
Print
Enter
Start
Clear/Stop
TPES070N
TPEY042E
TPEH101E