


User Tools
160
4
A
AA
A
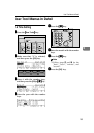
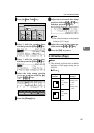
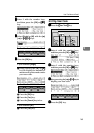
Press the {
{{
{User Tools}
}}
} key.
B
BB
B
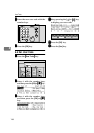
Enter 5 with the number keys,
and then press the [OK] or {
{{
{q
qq
q}
}}
} key.
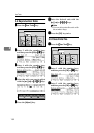
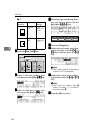
C
CC
C
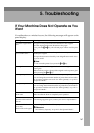
Enter 4 with the number keys,
and then press the [OK] or {
{{
{q
qq
q}
}}
} key.
D
DD
D
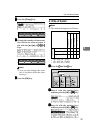
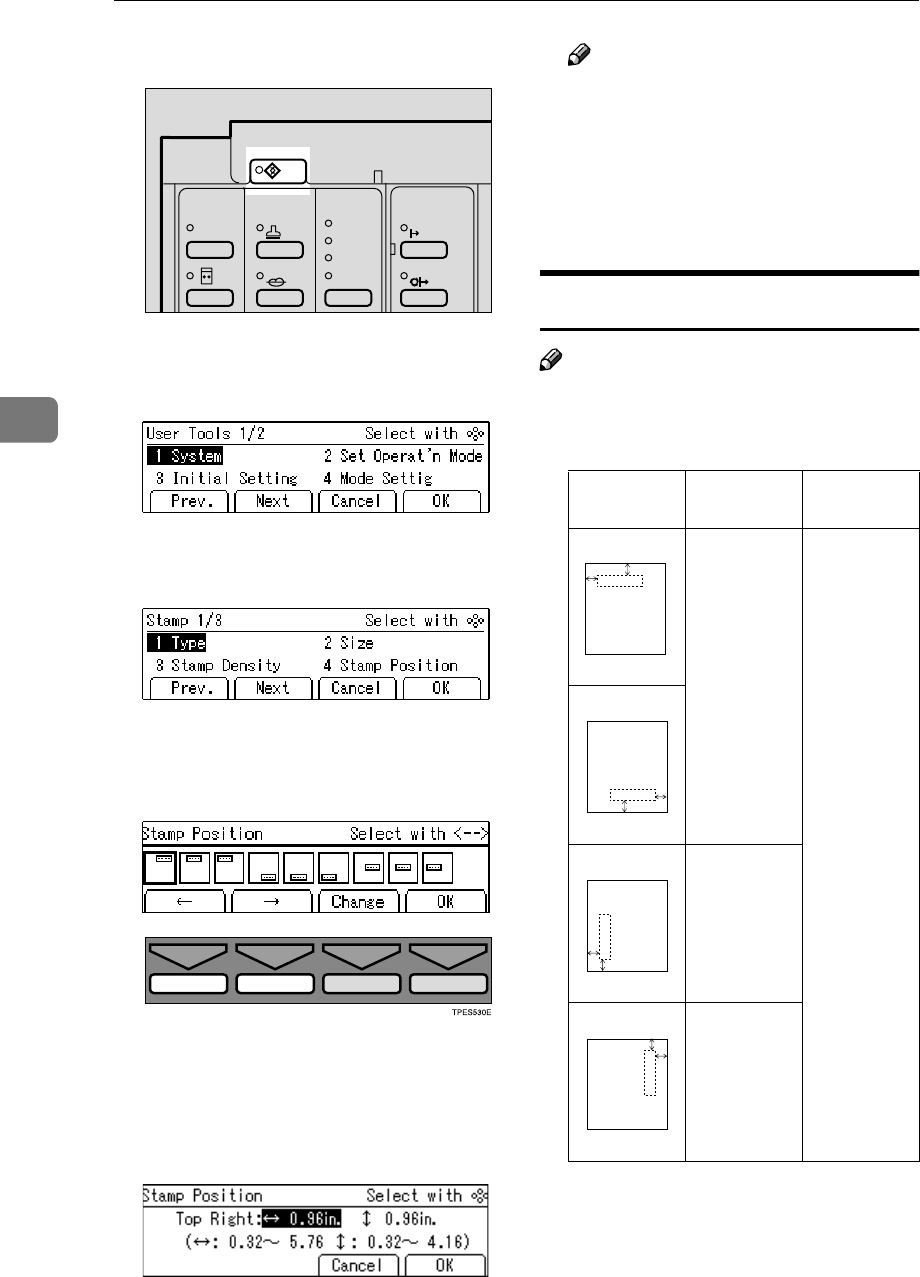
Select the stamp position you
want with the [←
←←
←] [→
→→
→] or {
{{
{~
~~
~}
}}
} {
{{
{}
}}
}}
}}
}
keys.
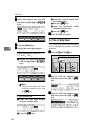
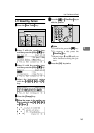
E
EE
E
Press the [Change] key.
F
FF
F
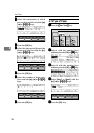
Adjust the horizontal stamp posi-
tion with the {
{{
{|
||
|}
}}
} or {
{{
{{
{{
{}
}}
} key, and
then press the {
{{
{}
}}
}}
}}
} key.
Note
❒ The value increases or decreases
in 4mm, 0.16" steps.
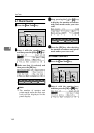
G
GG
G
Adjust the vertical stamp position
with the {
{{
{|
||
|}
}}
} or {
{{
{{
{{
{}
}}
} key.
H
HH
H
Press the [OK] key twice.
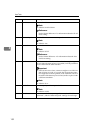
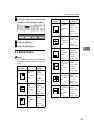
5-7 Position (Date)
Note
❒ The default position and available
settings of each date stamp are as
follows.
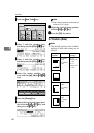
Make-Up
Image Density
Lighter
Darker 2
Darker 1
Normal
On Line
Auto On Line
ZDZS110N
Stamp
Stamp
positions
Default Available
settings
a = 8mm,
0.32"
b = 20mm,
0.80"
a = 8 –
40mm, 0.32"
– 1.60"
b = 8 –
40mm, 0.32"
– 1.60"
a = 20mm,
0.80"
b = 12mm,
0.48"
a = 20mm,
0.80"
b = 8mm,
0.32"
a
b
dd.mm.yy
GRDPOS0E
a
b
dd.mm.yy
GRDPOS1E
a
b
dd.mm.yy
GRDPOS2E
a
b
dd.mm.yy
GRDPOS3E