


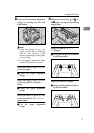
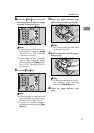
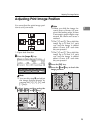
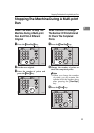
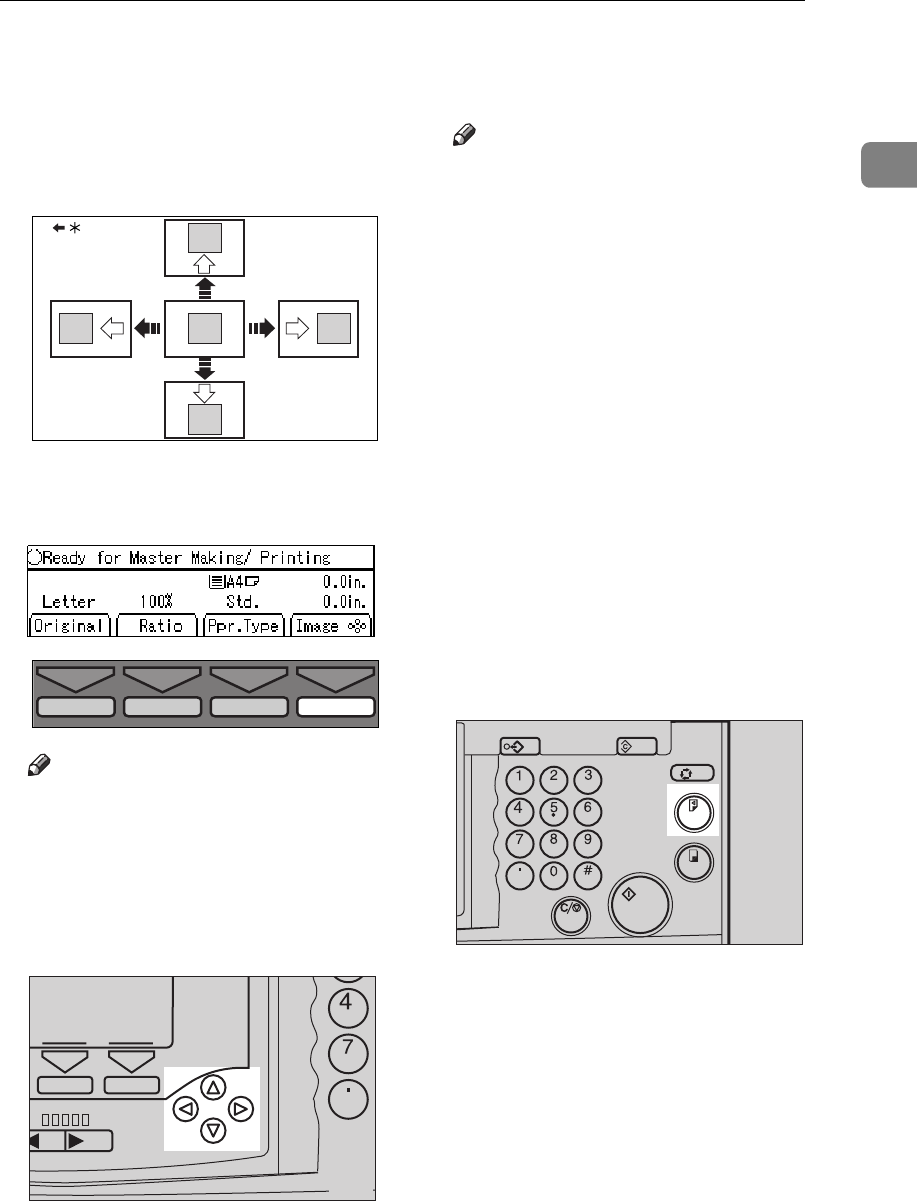
Adjusting Print Image Position
25
1
Adjusting Print Image Position
You can adjust the print image posi-
tion to suit your needs.
*…Paper feed direction
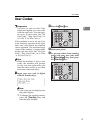
A Press the
[
Image
=
==
=
]
key.
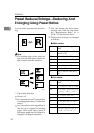
Note
❒
You can skip step A and adjust
the image position directly by
pressing the
{
~
}
,
{
}
}
,
{
|
}
, and
{
{
}
keys.
B Adjust image position using the
{
{{
{
~
~~
~
}
}}
}
,
{
{{
{
}
}}
}
}
}}
}
,
{
{{
{
|
||
|
}
}}
}
, and
{
{{
{
{
{{
{
}
}}
}
keys.
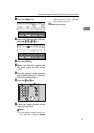
Note
❒
When you shift the image for-
wards, leave a 10 mm, 0.4" mar-
gin at the leading edge. If there
is no margin, paper might wrap
around the drum and cause a
misfeed.
❒
The
{
~
}
and
{
}
}
keys shift the
image up to 15 mm, 0.6" each
way and the image is shifted
about 0.5 mm, 0.02" each time
they are pressed.
❒
The
{
|
}
and
{
{
}
keys shift the
image up to 10 mm, 0.4" each
way and the image is shifted
about 0.5 mm, 0.02" each time
they are pressed.
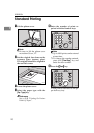
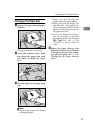
C Press the
[
OK
]
key.
D Press the
{
{{
{
Proof
}
}}
}
key to check the
image position.
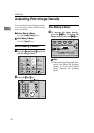
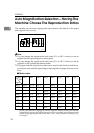
GRPOSI0E
TPES560E
o
w Fast
Speed
Clear/
S
TPES090N
Program Clear Modes
Auto Cycle
Proof
Print
Enter
Start
Clear/Stop
TPES060N