Directional Magnification—Stretching And Squeezing The Image In 1 % Steps
39
1
C Press the
[
OK
]
key.
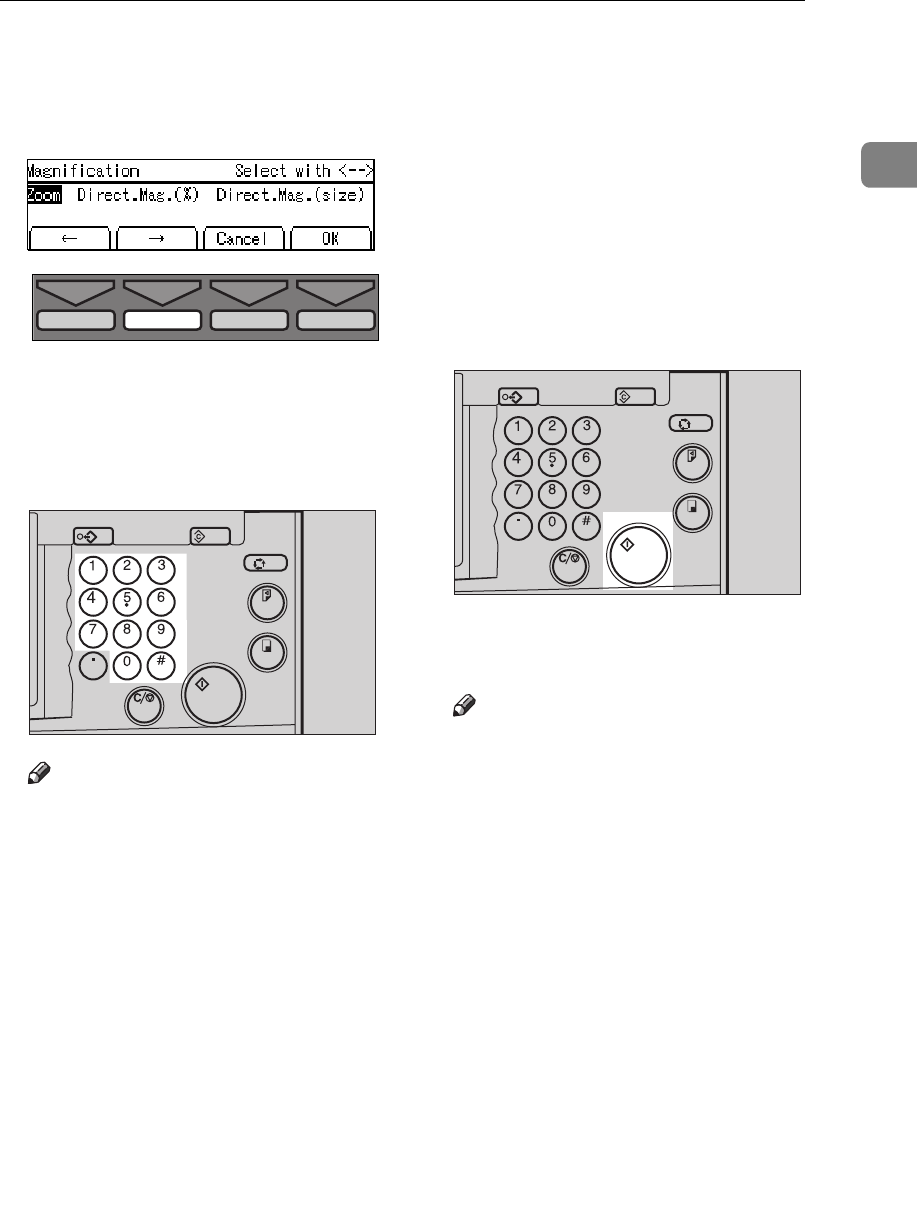
D Select
[
Direct. Mag. (size)
]
with the
[→
→→
→]
or
{
{{
{
}
}}
}
}
}}
}
key.
E Press the
[
OK
]
key.
F Enter the vertical original size
with the Number keys and press
the
{
{{
{
Enter
}
}}
}
key.
Note
❒
To change the value entered,
press the
{
Clear/Stop
}
key and
enter the new value.
❒
Up to 999 mm, 99.9" can be en-
tered.
G Enter the vertical print size with
the Number keys and press the
{
{{
{
Enter
}
}}
}
key.
H Enter the horizontal original size
with the Number keys and press
the
{
{{
{
Enter
}
}}
}
key.
I Enter the horizontal print size
with the Number keys.
J Press the
[
OK
]
key.
The machine will select proper re-
production ratios for vertical and
horizontal directions.
K Make sure that the original and
the print paper are the correct
size.
L Set your original on the exposure
glass (contact glass) or in the op-
tional document feeder.
M Press the
{
{{
{
Start
}
}}
}
key.
N Check the image position of the
trial or proof print.
Note
❒
If the image position is not cor-
rect, adjust it using the
[
Image
=
]
key (see
⇒
P.25 “Adjusting
Print Image Position”).
O Make your prints.
TPES570E
Program Clear Modes
Auto Cycle
Proof
Print
Enter
Start
Clear/Stop
TPES120N
Program Clear Modes
Auto Cycle
Proof
Print
Enter
Start
Clear/Stop
TPES050N


