Auto Cycle—Making Master And Prints At One Stroke
49
1
Auto Cycle—Making Master And Prints At
One Stroke
Use the
{
Auto Cycle
}
key to process
masters and make prints at one
stroke.
Note
❒
When you use the optional docu-
ment feeder, it is not necessary to
place originals one by one. All
originals are fed and prints are
completed after you press the
{
Start
}
key.
A Set your original on the exposure
glass (contact glass) or in the op-
tional document feeder.
Note
❒
You can set up to 30 originals
into the optional document
feeder.
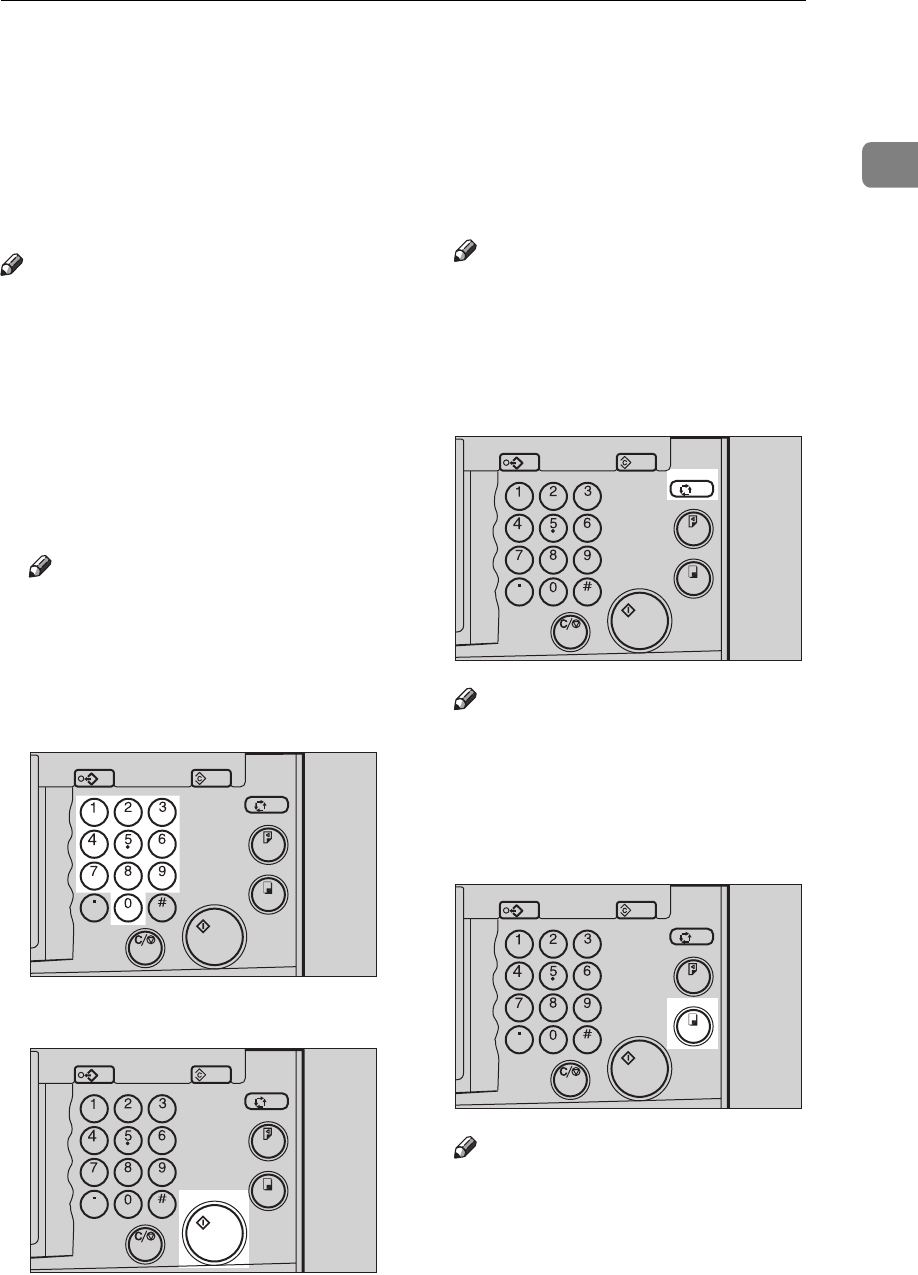
B Enter the number of prints re-
quired with the Number keys.
C Press the
{
{{
{
Start
}
}}
}
key.
D Check the image position of the
trial or proof print.
Note
❒
If the image position is not cor-
rect, adjust it using the
[
Image
=
]
key (see
⇒
P.25 “Adjusting
Print Image Position”).
E Press the
{
{{
{
Auto Cycle
}
}}
}
key.
Note
❒
If you press the
{
Auto Cycle
}
key, you cannot make proof
prints by pressing the
{
Proof
}
key.
F Press the
{
{{
{
Print
}
}}
}
key.
Note
❒
Repeat steps A through C until
all originals are printed when
you are setting originals on the
exposure glass (contact glass).
Program Clear Modes
Auto Cycle
Proof
Print
Enter
Start
Clear/Stop
TPES040N
Program Clear Modes
Auto Cycle
Proof
Print
Enter
Start
Clear/Stop
TPES050N
Program Clear Modes
Auto Cycle
Proof
Print
Enter
Start
Clear/Stop
TPES150N
Program Clear Modes
Auto Cycle
Proof
Print
Enter
Start
Clear/Stop
TPES070N


