


Standard Printing
21
1
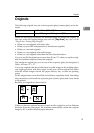
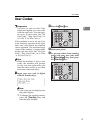
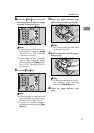
G Press the
{
{{
{
Proof
}
}}
}
key and check
the image density and the image
position of the proof print.
Note
❒
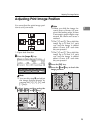
If the image position is not cor-
rect, adjust it using the
[
Image
=
]
key. See
⇒
P.25 “Adjusting
Print Image Position”.
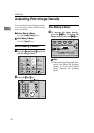
❒
If the image density is slightly
dark or light, adjust the image
density using the
{
Speed
}
keys.
See
⇒
P.26 “Adjusting Print Im-
age Density”.
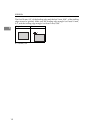
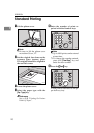
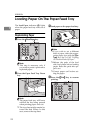
H Press the
{
{{
{
Print
}
}}
}
key.
Note
❒
After printing is completed, the
same number of prints is auto-
matically set for the next job.
❒
To stop the machine during a
multi-print run, press the
{
Clear/
Stop
}
key.
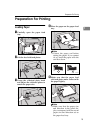
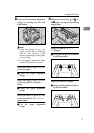
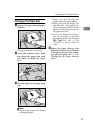
I Open the paper delivery side
plate of the operation panel side.
Note
❒
You cannot open the side plate
on the opposite side.
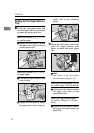
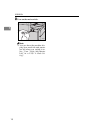
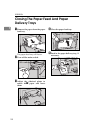
J Remove the prints from the paper
delivery tray.
Note
❒
To return the machine to the ini-
tial condition after printing,
press the
{
Clear Modes
}
key.
K Close the paper delivery side
plate.
Program Clear Modes
Auto Cycle
Proof
Print
Enter
Start
Clear/Stop
TPES060N
Program Clear Modes
Auto Cycle
Proof
Print
Enter
Start
Clear/Stop
TPES070N
TPEH050E
TPEH060E