


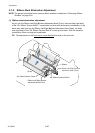


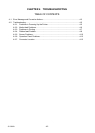

Troubleshooting
4-5 CL-S6621
4-2. Troubleshooting
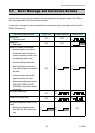
The following tables show possible remedies for various symptoms that might occur. Symptoms
are given in the left column, and the corresponding remedies in the right column.
Notes: 1. When parts are replaced, refer to Chapter 3 "Disassembly and Maintenance".
2. Connectors (J . . .) given in the column of checks and remedies are connected with the
“SA, Main PCB”. For the location of each connector, refer to “4-2-7 Connector
Location".
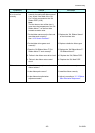
4-2-1. Problems in Powering Up the Printer
Symptoms Checks Remedies
No power to the
printer
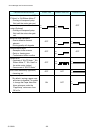
1. Check voltage on the input power line.
Acceptable supply voltage:
85V to 132V AC for 120V version
185V to 264V AC for 220V version
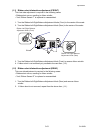
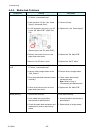
2. Is the connector of “SA, Power SW
Cable” firmly connected to the “Unit,
Power Supply”?
3. Is the “SA, Power Cable” firmly
connected between the “Unit, Power
Supply” and the “SA, Main PCB” (J15)?
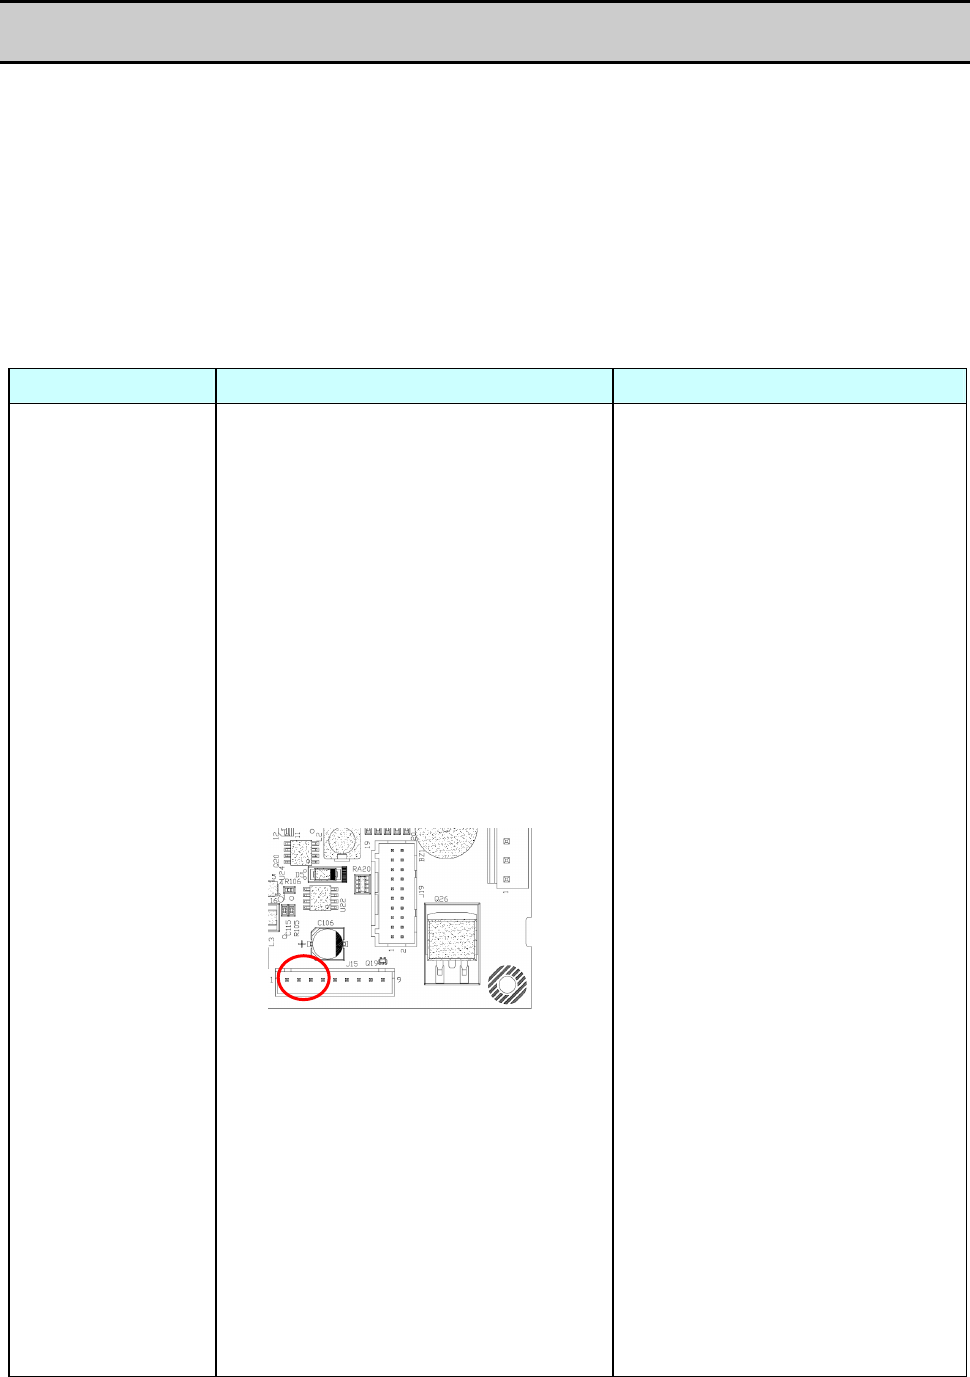
4. Is +24V supplied to the pins 1-4 of J15
on the “SA, Main PCB”? (GND: Pins
5-8)
[Bottom right of the “SA, Main PCB”]
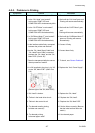
5. Is the “Cable, Opepane” connected
between the “SA, Main PCB” (J4) and
the “SA, Opepane PCB” firmly?
If it is not connect or is inserted upside
down, no LED lights even if you turned
ON the power.
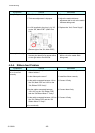
6. Failure in the power supply circuit.
7. Failure in the control circuit.
1. Supply correct voltage.
2. Connect it firmly.
3. Connect it firmly.
4. If no DC voltage is supplied,
replace the “Unit, Power Supply”.
NOTE:
If the “Unit, Power Supply” is NOT
connected to the “SA, Main PCB”,
the output will be +9V. This is not a
trouble. If both PCBs are
connected, +24V will be correctly
output.
5. Connect it firmly.
6. Replace the “Unit, Power Supply”.
7. Replace the “SA, Main PCB”.