Installing Memory-Module Kits
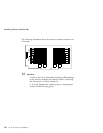
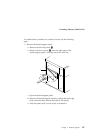
e. Rotate the memory-board handles to the closed position,
until the handles are aligned with the front edge of the
memory board.
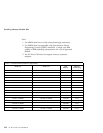
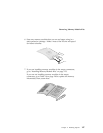
8. Go to Table 10 on page 283 to record the sizes of the memory
modules and the connectors into which they are installed.
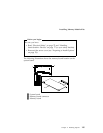
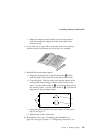
9. Reinstall the board-support panel:
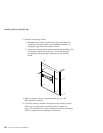
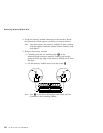
a. Align the support panel so that the three tabs 1 at the
back left edge of the panel fit into the three chassis slots.
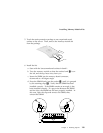
b. Close the panel. Check to make sure that the boards in the
slots behind the panel align with the scribe marks on the
panel. Use the scribe marks at 2 to check the alignment of
the memory board. Use the scribe marks at 3 to check the
alignment of the processor boards.
2
3
1
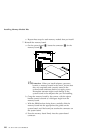
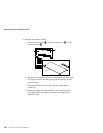
c. Secure the panel with the four screws that you removed in
step 1b on page 117.
d. Reinstall the exterior side panel.
10. Reinstall the covers (see “Completing the Installation” on
page 201) and go to Chapter 3, “Configuring Your Server” on
Chapter 4. Installing Options 121


