Adding Power Supplies
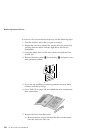
To add a power supply, do the following steps:
1. Locate the cover on the power-supply bay (at the back of the
power-supply chassis).
2. Remove the four screws from the cover.
3. Remove the power-supply cover and save for future use.
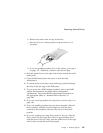
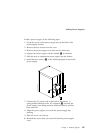
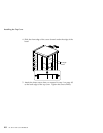
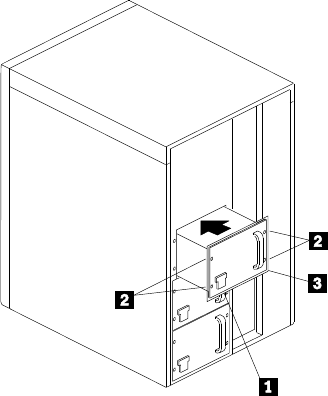
4. Support the power supply with the handle 3 on the back.
5. Slide the new or replacement power supply into the chassis.
6. Install the four screws (2 in the following figure) to secure the
power supply.
7. Connect the AC power cord to the back of the chassis. A
spring-loaded interlock at the AC receptacle 1 prevents the
power supply from being removed unless the power cord has
been removed.
8. Align the power-supply cover with the power-supply bay
opening.
9. Place the cover over the bay.
10. Reinstall the screws that you removed from the power-supply
cover.
Chapter 4. Installing Options 195


