5-4 magicolor 330 - Base Engine Service Manual
Primary Fault Isolation Procedures
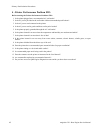
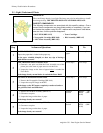
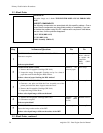
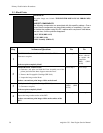
5.1 - Light (Undertoned) Prints
PROBLEM
The overall image density is too light. The image may also be unfused due to insuffi-
cient image density.
THE PRINTER DISPLAYS NO ERROR MESSAGE.
• MCU PWB (RRP 9.123) • Toner Cartridges
• Xerographic Cartridge (RRP 9.48) • ROS Assembly (RRP 9.47)
• ADC Sensor Assembly (RRP 9.50)
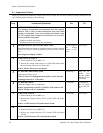
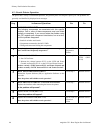
Step Actions and Questions Yes No
1
PAPER INSPECTION
Inspect the paper that is loaded in the paper tray.
Is the paper wrinkled, dimpled, or show any sign of having a
high moisture content?
Load fresh, dry
paper.
Go to step 2
2
2ND TRANSFER IMAGE INSPECTION
1. Generate a test print and slide the Fuser Assembly out of the
printer just as the sheet of paper starts to exit the Fuser.
2. Inspect the image on the sheet of paper before
it reached the
Fuser Rolls.
Is the image density normal before it reached the Fuser Rolls?
Go to step 6 Go to step 3
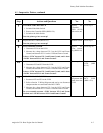
3
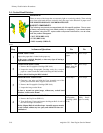
1ST IMAGE TRANSFER INSPECTION
1. Remove the Xerographic Cartridge (RRP 9.48).
2. Inspect the test print image on the IBT.
Is the image on the IBT appear completely transferred and are
the grid lines black and unbroken?
Go to step 4 Go to step 5
4
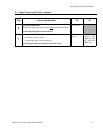
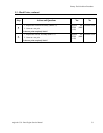
1. Replace the 2nd BTR Assembly (RRP 9.75).
2. Generate a test print.
3. Inspect the image on the sheet of paper.
Is the image density now normal?
Problem
Solved
Replace the
HVPS (RRP
9.120)
5
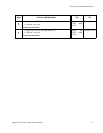
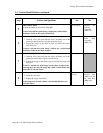
1. Replace the Transfer Assembly (RRP 9.71).
2. Generate a test print.
3. Inspect the image on the sheet of paper.
Is the image density now normal?
Problem
Solved
Replace the
HVPS (RRP
9.120)
RS500X


