magicolor 330 - Base Engine Service Manual 9-41
Removal and Replacement Procedures
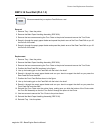
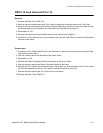
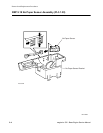
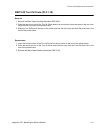
RRP 9.18 No Paper Sensor Assembly (PL3.1.30)
Removal
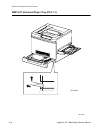
1. Remove Tray 1 from the printer.
2. Remove the Main Paper Handling Assembly (RRP 9.36).
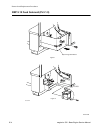
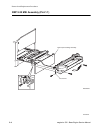
3. Reach in through the empty paper feeder and hold onto the No Paper Sensor Bracket.
4. With the other hand reach in through the empty Paper Handling Assembly cavity and push in on the
latches holding the No Paper Sensor Bracket to the printer frame.
5. When you have released the latch, pull the Bracket down into the empty paper feeder.
6. Disconnect P/J107 from the No Paper Sensor.
7. Squeeze in on the latches securing the Sensor to the Bracket and remove the Sensor.
Replacement
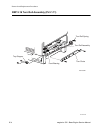
1. Position the Sensor so the P/J face the Low Paper Sensor.
2. Press the Sensor onto the Bracket unit the Sensor latches snap into place.
3. Reconnect P/J 107 to the No Paper Sensor.
4. Reinstall the No Paper Bracket by inserting the latches of the Bracket up into the two cutouts in the
printer frame.
5. Push in on the latches and push up on the Bracket until the latches lock into place.
6. Reinstall the Main Paper Handling Assembly (RRP 9.36).
7. Reinstall Tray 1 into the printer.


