


26
2
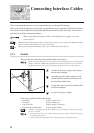
When connecting the printer to a host computer directly, use the parallel interface.
When connecting the printer to the network, use the Ethernet or the (optional) Token Ring interface.
This printer can be connected to the parallel and Ethernet interface at the same time. It can receive
print data from all the connected interfaces.
When connecting the interface cable, switch off the power supply to prevent
electric shock.
When the optional Token Ring interface is connected to the printer, you cannot use the Ethernet interface.
And as a result, the EtherTalk port cannot be used either.
When using the optional Token Ring, refer to the manuals of the Token Ring kit.
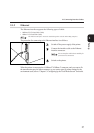
2.1.1 Parallel
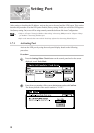
The procedure for connecting to the parallel interface is as follows:
When connecting the printer to a host computer using parallel interface, you need parallel
interface cable that is IEEE 1284 compliant and less than six (6) feet long or a one that is
shielded. For details, contact your local authorized Panasonic service representative.
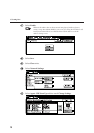
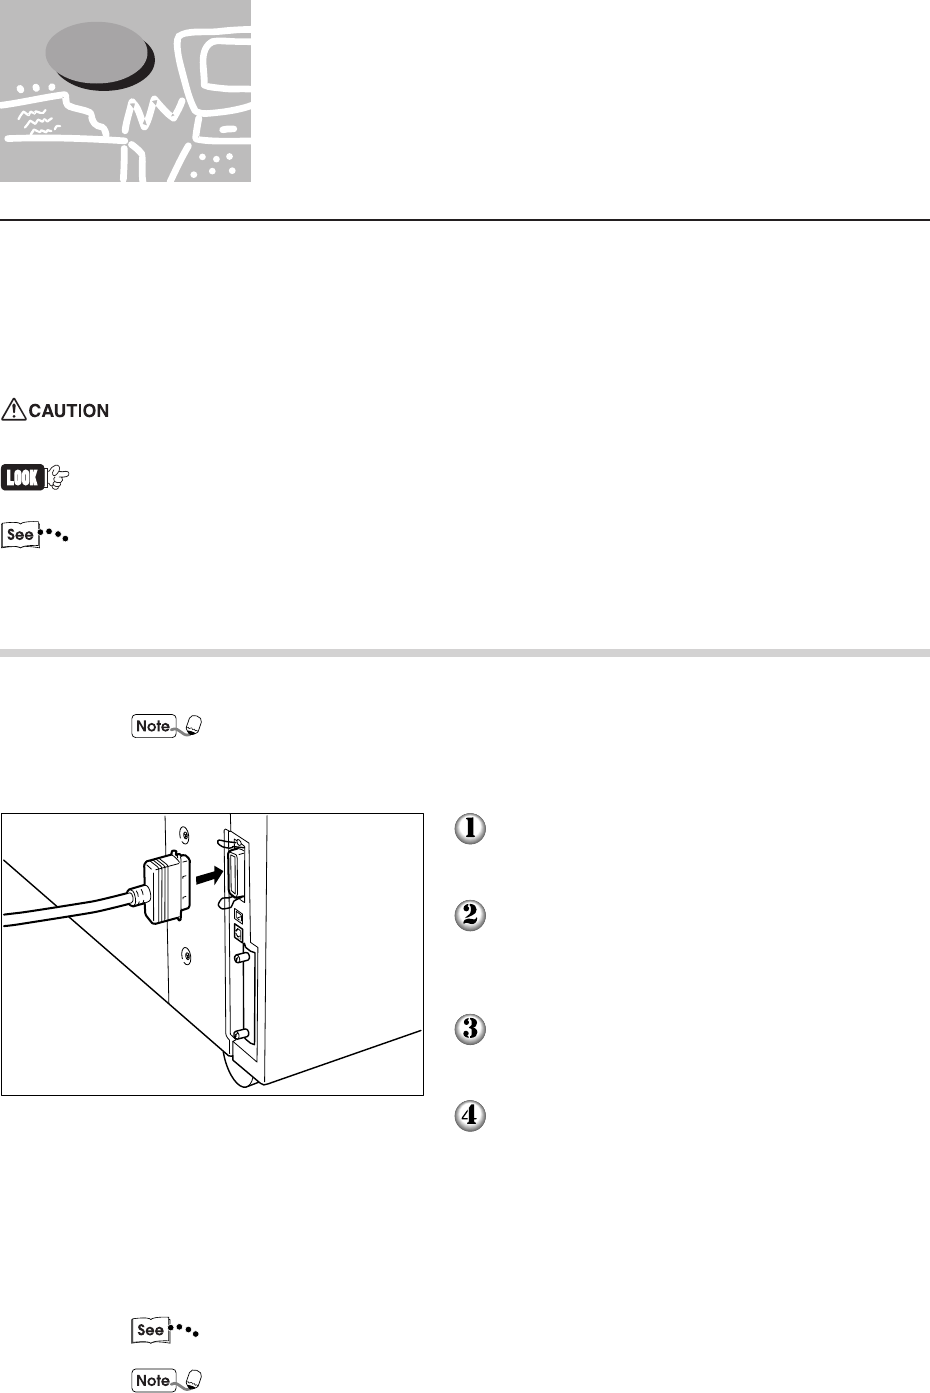
Switch off the power supply of the printer
and the host computer.
Insert the interface cable connector to the
parallel interface connector and secure it by
the wire clips on both sides.
Connect the other end of the interface cable
to the host computer.
Switch on the power supply.
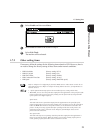
If necessary, define the following settings:
• Print Mode (Factory setting: PCL*)
• PJL Switch (Factory setting: On)
• Auto Eject Time (Factory setting: 30 seconds)
• Bi-directional Communication (Factory setting: Enable)
"Chapter 13 Configuring by the Tools Mode Screen" for details on each of the items and
the way to set them.
• For normal usage, there is no need to change the factory settings of all the items except
the bi-directional protocol.
• * If the optional PostScript software kit is installed, factory setting will be Auto.
2.1 Connecting Interface Cables