


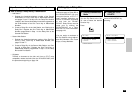
122
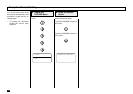
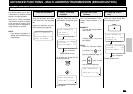
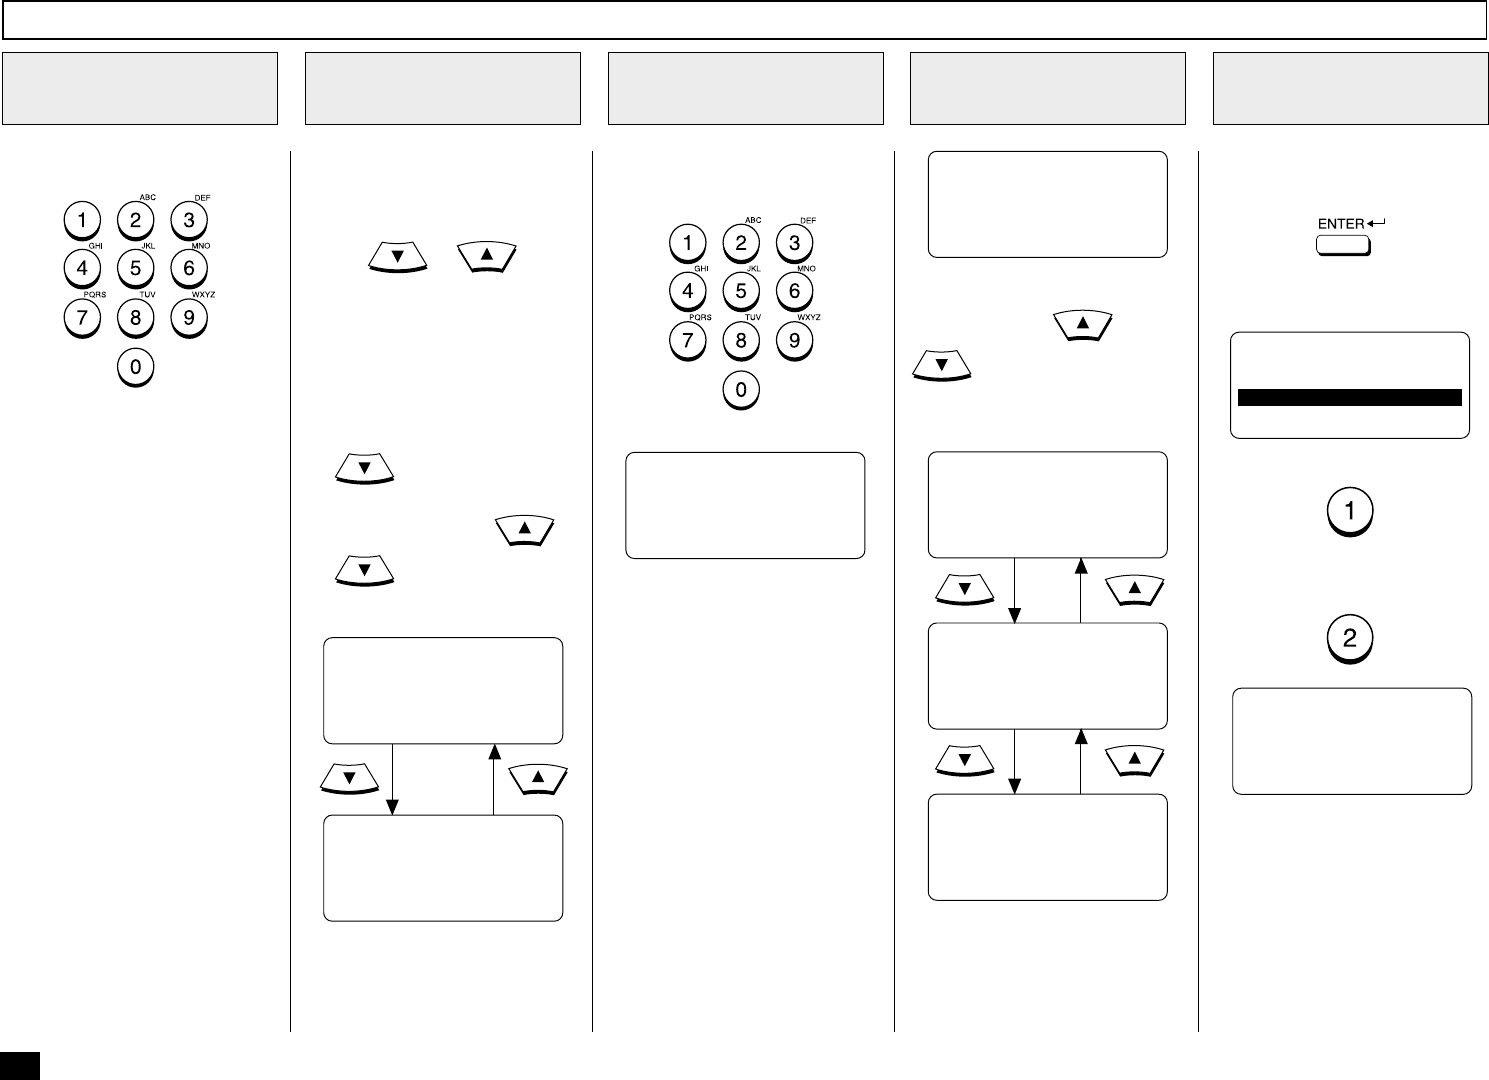
Select the desired job type.
The operation and screen to fol-
low varies for each item number
selected.
If you selected 2.RECEIVE, go
to Step 3.
If you selected 5.JOB NUM-
BER, go to Step 4.
If you selected:
1. TRANSMIT
3. POLLING
4. POLLING RESERVE
Go to Step 5.
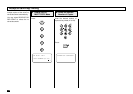
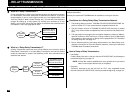
Enter the job number you want
to cancel.
Display the status of the desired
job by using
and/or
.
Go to Step 6.
When the desired job screen is
displayed, press:
A screen like the one below is
displayed.
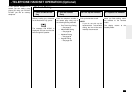
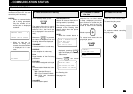
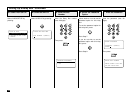
Select the Job Type
2
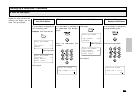
Cancel a Reception
3
Enter JOB NUMBER
4
Cancel Other Jobs
5
Press the ENTER to
Cancel the Job
6
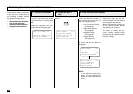
Cancelling a Job Reservation - continued
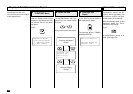
JOB CANCEL
[ENTER]:CANCEL
[ ]:PREVIOUS SCREEN
[ ]:NEXT SCREEN
↑
↓
Previous Job in the List
SINGLE TRANSMIT
REDFIELD EX
MAY-29 23:25
FILE NBR = 123
Next Job in the List
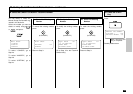
JOB CANCELLED
FILE NBR = xxx
CANCEL ?
FILE NBR = xxx
1.YES
2.NO
To confirm deletion, press:
To not cancel the selection,
press:
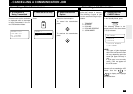
To cancel a reception, use the
following keys to select the tele-
phone line to stop the reception.
or
Go to Step 6.
NOTE:
If Line 2 is also in use for
receiving, the Line 2 status
is also displayed by pressing
.
The two screens are alter-
nated by pressing
or
.
LINE-1 RECEIVE
+81 425 86 7449
LINE-2 RECEIVE
Go to Step 6.
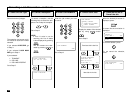
JOB NUMBER=
XXX