


29
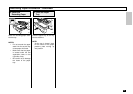
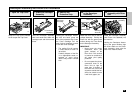
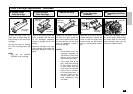
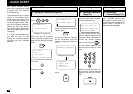
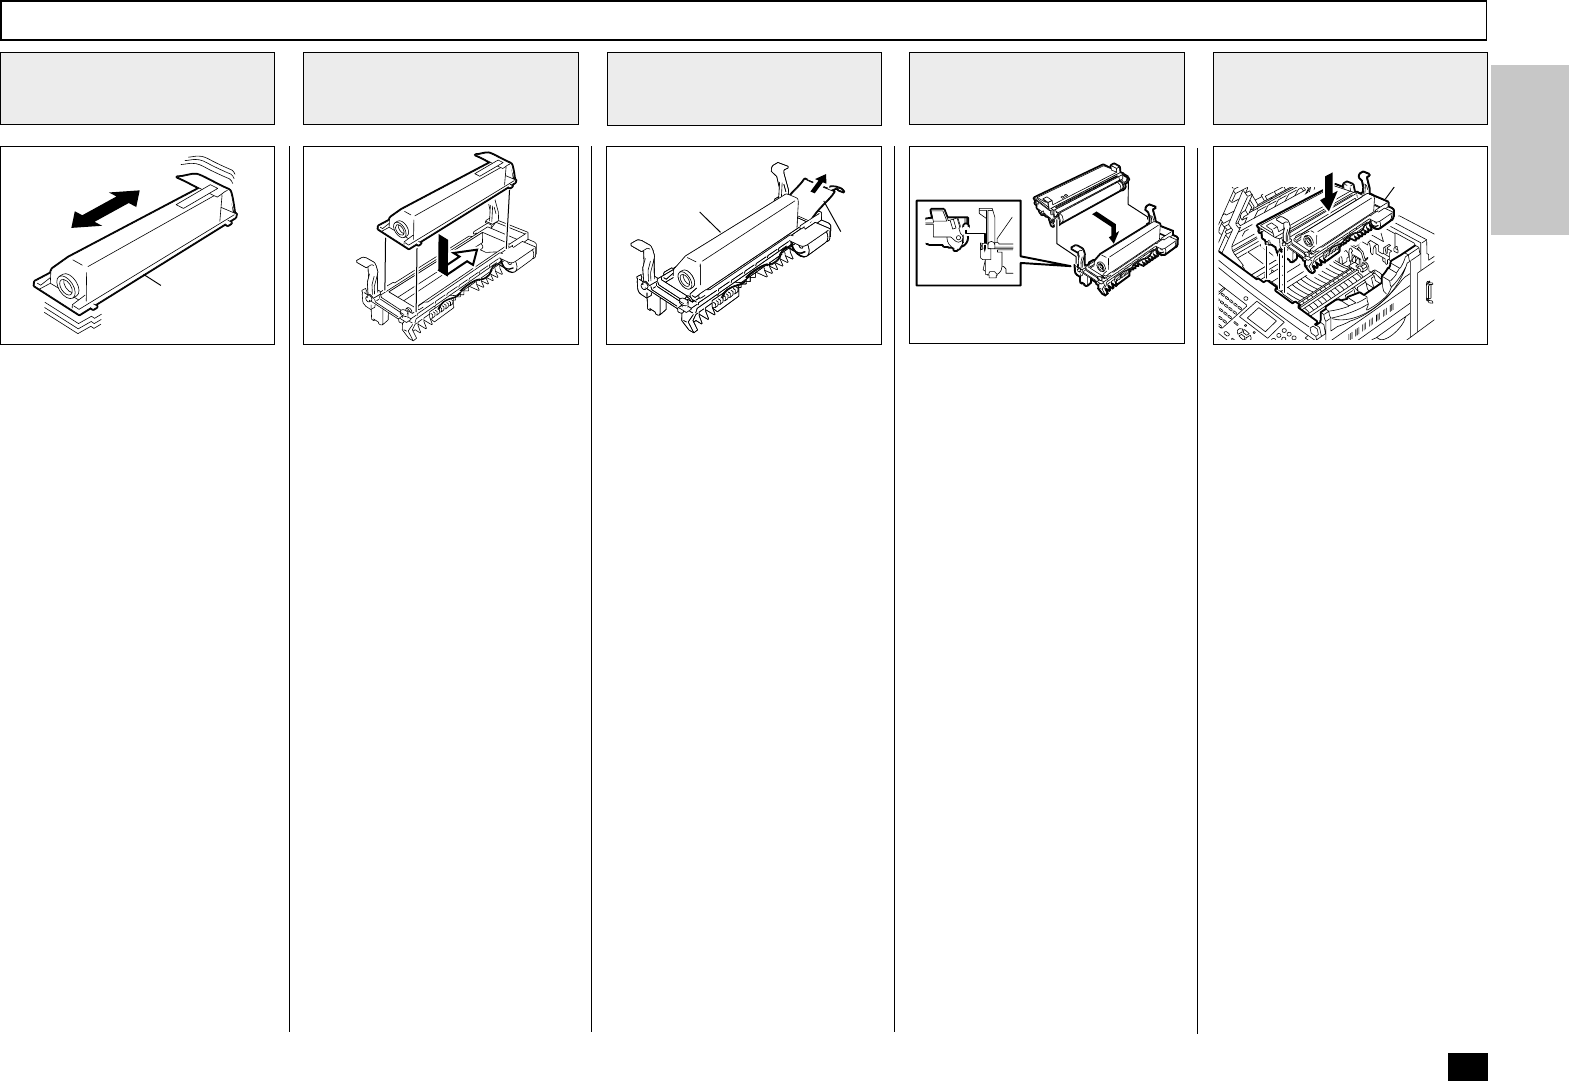
Remove the new Toner Car-
tridge from its plastic bag and
save the bag for the used Toner
Cartridge.
Mix the new toner by shaking
the Toner Cartridge back and
forth.
NOTE:
Only use the specified
TOSHIBA Toner Cartridge.
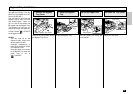
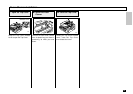
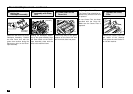
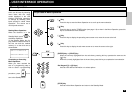
Attach the Drum Unit to the De-
veloper Assembly. Position the
Drum Unit with the green drum
surface facing the black toner
roller on the Developer Assem-
bly.
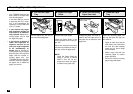
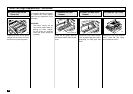
Align the four hooks on the new
Toner Cartridge with the slots
on the Developer Assembly.
Slide the cartridge onto the as-
sembly.
Move the cartridge to the right
until the button on the left of the
Developer Assembly clicks into
place.
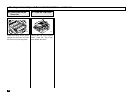
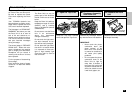
Holding the Developer Assem-
bly with one hand, grasp the
end of the protective strip under
the toner housing. Pull the Strip
firmly to completely remove it
from the cartridge.
NOTES:
• Do not stand or turn the
Developer Assembly up
side down to avoid toner
leaking out the cartridge
after removing the strip.
• Toner might stick to the
strip. Avoid toner sticking
to your clothes, furniture,
or other items since the
toner cannot be removed
easily. Toner is not harm-
ful to the human body. If
any toner sticks to your
clothes, wash away the
toner immediately using
cold water.
Prepare a New
Toner Cartridge
5
Install the New
Toner Cartridge
6
Remove the Strip
7
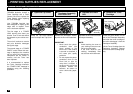
Toner Cartridge Replacement - continued
New Toner
Cartridge
New Toner
Cartridge
Developer
Assembly
Developer
Assembly
Strip
Drum Unit
Developer
Assembly
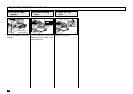
Holding the Developer Assem-
bly by the green handles, align
the three shafts on the Devel-
oper Assembly sides with the
slots in the machine frame.
Install the Developer
Assembly with Drum
Unit
9
Developer
Assembly
054
055 041 042 043
Attach the Drum Unit
to the Developer
Assembly
8