


20
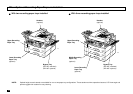
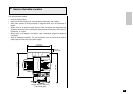
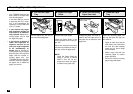
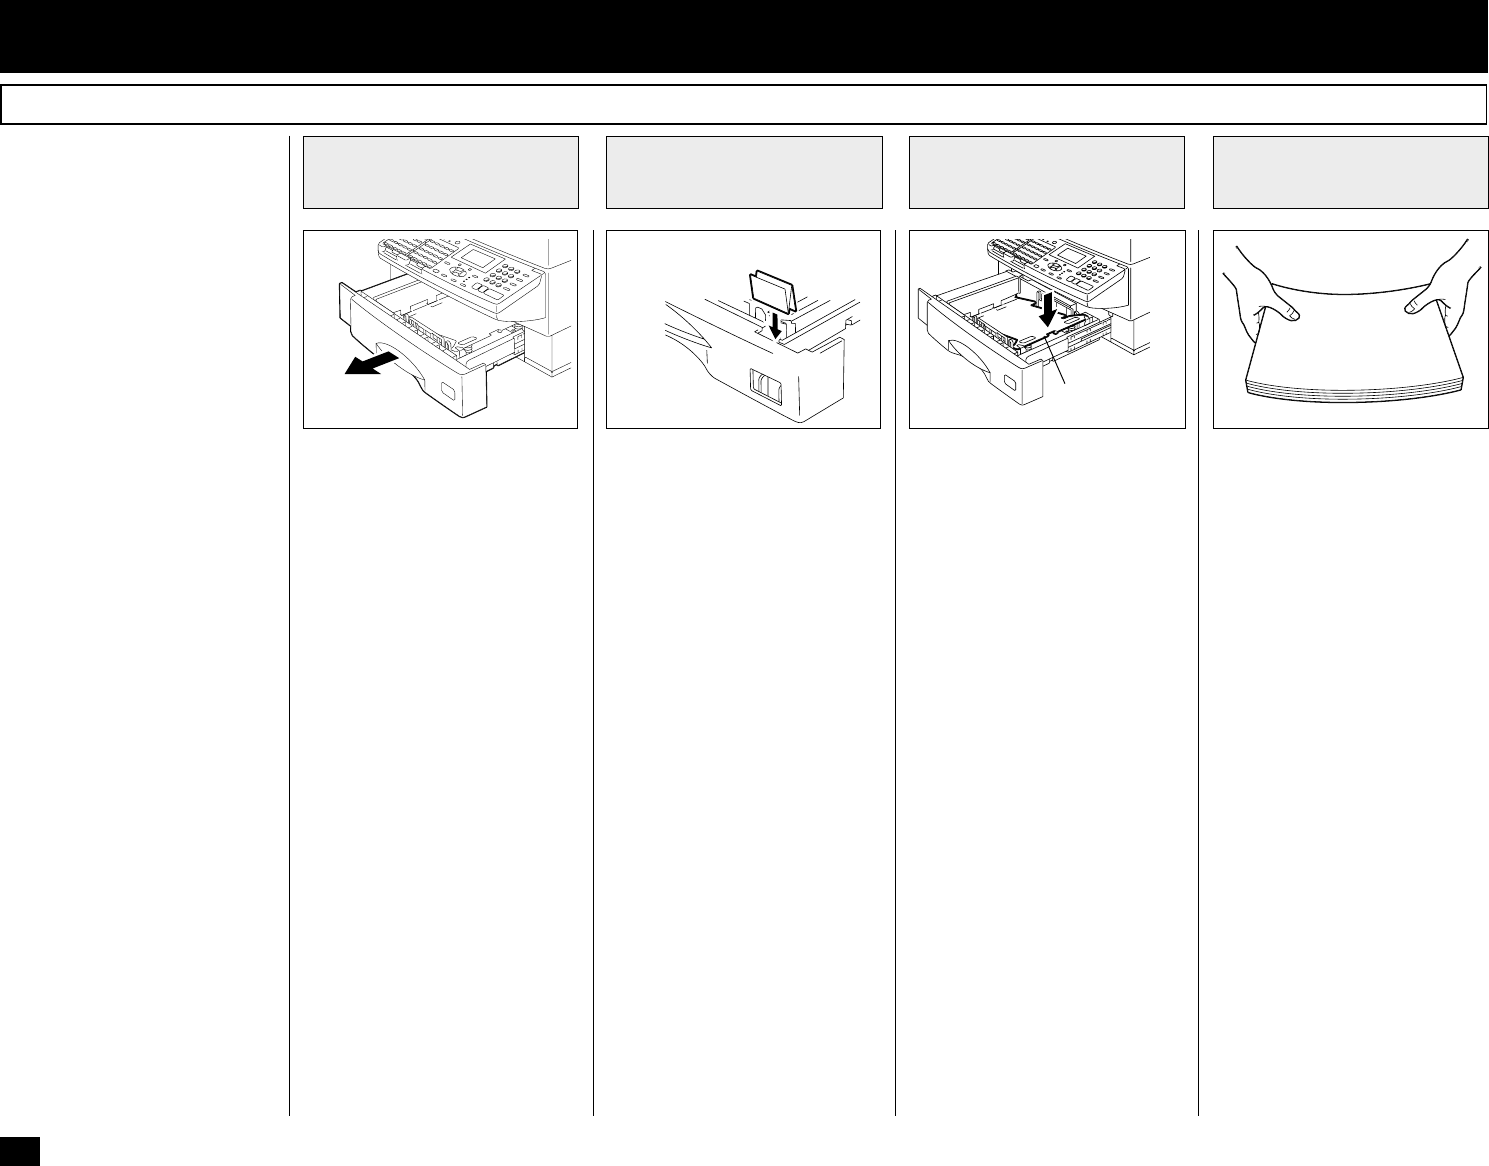
Pull the paper tray out using the
handle located at the front of the
tray.
Pull the tray straight out toward
you as illustrated above.
CAUTION:
• Never place heavy objects
on an open tray, nor apply a
strong force.
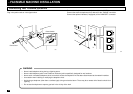
If not already at the correct pa-
per size, insert the Paper Size
Label into the slot of the Paper
Tray.
See page 22 for information on
changing the recording paper
size.
Prepare new recording paper
sheets by holding both ends and
flexing several times.
This will separate the sheets
and provide optimum feeding.
Align the stack so that all four
corners are neatly aligned.
Be sure to load the recording
paper in accordance with any
paper manufacturer’s printing
side instruction. Some papers
have a preferred image side.
This image side should be
placed face down in the paper
tray.
Press the Paper Pressure Plate
down until it clicks.
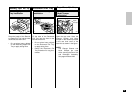
About Recording Paper:
• Use only recommended paper
brands to optimize your fac-
simile performance. Contact
your authorized TOSHIBA
dealer for more information.
• Remove the recording paper
when storing or relocating
your facsimile.
• Avoid using damaged, folded
or misaligned recording paper.
Use of damaged paper could
cause double feeding or paper
jams.
• Use of damp recording paper
will cause poor printing over
all or part of the image area. If
the paper is excessively moist,
print quality may become un-
even and voiding may occur.
Replace the paper, should this
condition exist.
- INITIAL PRINTING SUPPLIES INSTALLATION
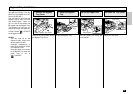
Pull Out the Paper
Tray
1
Prepare the
Recording Paper
4
Attach the Recording
Paper Size Label
2
Press Down the
Paper Pressure Plate
3
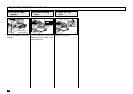
Recording Paper Installation
Recording Paper
Size Label
Paper
Pressure Plate
029 030
031032