


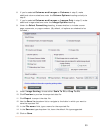
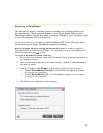


4. Click on Continue.
5.
Navigate to the desired destination location on your computer, type a name for
the file, and then click on
Save. The exported file will be saved with the .qif
extension.
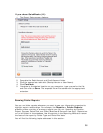
6.
Start Quicken and select the newly created Quicken Cash Account from
the
Cash Flow Center.
7.
Choose File > Import > QIF.
8.
Navigate to the folder containing the file you exported in step 5. When the
import is complete, you can move the transactions into any other Quicken
account you wish.
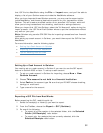
Tips for Working with QIF Files
Be sure that your Category names in NeatWorks match the Category names in
Quicken
EXACTLY. For example, consider adding an "Auto: Fuel" category in
NeatWorks and assigning that category to all of your fuel receipts. That way, when
you import those receipts into Quicken, they will automatically be assigned to the
"Auto: Fuel" category in Quicken.
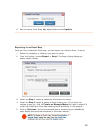
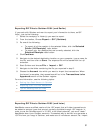
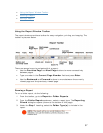
Exporting OFX Files to MS Money
If you work with MS Money and want to export your information there, as OFX
file(s), just do the following:
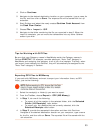
1. Select the receipt(s) or folder(s) you want to export.
2. From the
Toolbar, choose Export > OFX (MS Money).
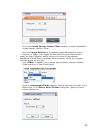
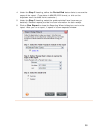
3. In
Step 1, do one of the following:
• To export all of the receipts in the selected folder, click the
Selected
Folder (All Receipts)
radio button.
• To export only the receipts that are currently selected, click the
Selected Receipts radio button.
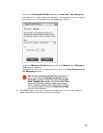
4. In
Step 2, provide the requested information and then click Continue.
Navigate to the desired destination location on your computer, type a name
for the file, and then click on
Save. The exported file will be saved with the
.ofx extension.
33