


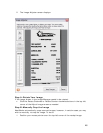
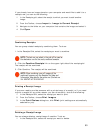

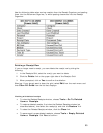

For example, if you've clicked in a cell in the Amount column, the heading
reads Additional Field Info: Receipt - Amount.
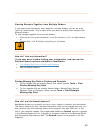
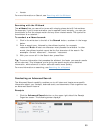
2. Enter comments and other info as needed, keeping in mind the following:
• To add information to a field, click in the field and begin typing.
• Cells containing comments display a small red triangle in the upper right
corner of the cell (as shown below).
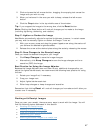
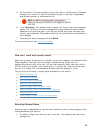
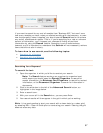
Adding a New Receipt Row
Each time a receipt is filed, a new row is added to the Receipts Grid. Rows can also
be added manually (without filing from the Inbox).
To add a new receipt row:
1.
Create or select a folder.
2.
From the toolbar, choose New > Receipt.
3.
Add expense information in the appropriate columns of the new receipt row.
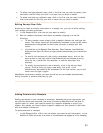
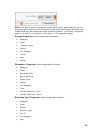
Moving a Receipt Row to Another Folder
If you ever need to recategorize a receipt because you feel it belongs in a different
folder, you can move the receipt row to that folder. To do so:
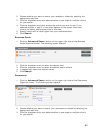
1. Select the receipt row(s) you want to move.
2. Choose the
Move link on the upper right side of the receipt grid.
3. The Move Receipt(s) screen displays.
4. Select the folder you want to move the receipt row to by clicking on it. (You can
sort the folders by Folder Name, Folder Type, and Folder Label.)
5. Click
Select.
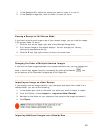
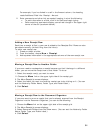
Moving a Receipt Row to the Document Organizer
If you ever want to move a receipt that you've already scanned from the Receipt
Organizer into the Document Organizer, you can do the following:
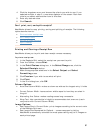
1. Choose the
Move link on the upper right side of the receipt grid.
2. The Move Receipt(s) screen displays.
3. Select Document Folders from the Show menu. (You can sort the folders by Folder
Name, Folder Type, and Folder Label.)
4. Click
Select.
54