


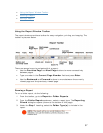

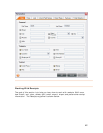


• Transaction date
•
Total amount
•
Payment type
•
State sales tax (USA)
•
Vendor name
•
Category
•
PST/QST and GST/HST sales tax (Canada)
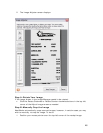
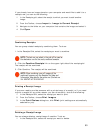
After each scan you will want to review and verify the data. To modify any of the
information, click
Review and File in the Inbox. You can also click in a grid cell
when in the Receipts organizer and edit as necessary.
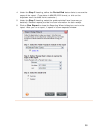
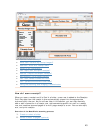
Adding a vendor name
NeatWorks has a built-in vendor database of over 1500 popular stores, restaurants,
and hotels. Each vendor name has already been associated with an expense
category, such as "Restaurant" or "General Retail."
Although NeatWorks may not
have the name of your neighborhood supermarket in its database, you can easily
add it so that it will recognize it the next time. To add a vendor name simply click in
the vendor name field and and enter the information. If you enter an expense
category for that vendor name, it will remember that as well.
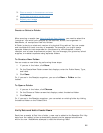
Important: Note that NeatWorks currently does not read vendor names that are
stylized text or logos, only plain text. Keep this in mind when adding vendor names
as you must type them exactly the way they appear on the receipt.
For example, if a receipt had "Jim's Shop" in a stylized logo and "Jim's Repair Shop"
in plain text elsewhere, you should enter the plain text version, "Jim's Repair Shop."
To prevent false reads, you should enter as unique a name as possible. For example,
type "AM Shops" instead of simply "AM" since the letters AM could appear in many
other receipts.
Saving Your Information
NeatWorks automatically saves all information as soon as it is scanned or edited.
There is no need for a "Save" button in any of the Organizers because saving is done
for you by the program.
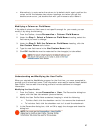
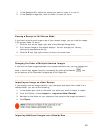
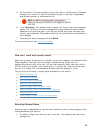
Using the Image Adjuster
After scanning, you may want to rotate, crop, and lighten or darken your image. You
can use the Image Adjuster to do so, as the following steps describe:
1. Click
Adjust Image on the Review screen.
45