


n
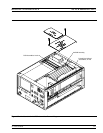
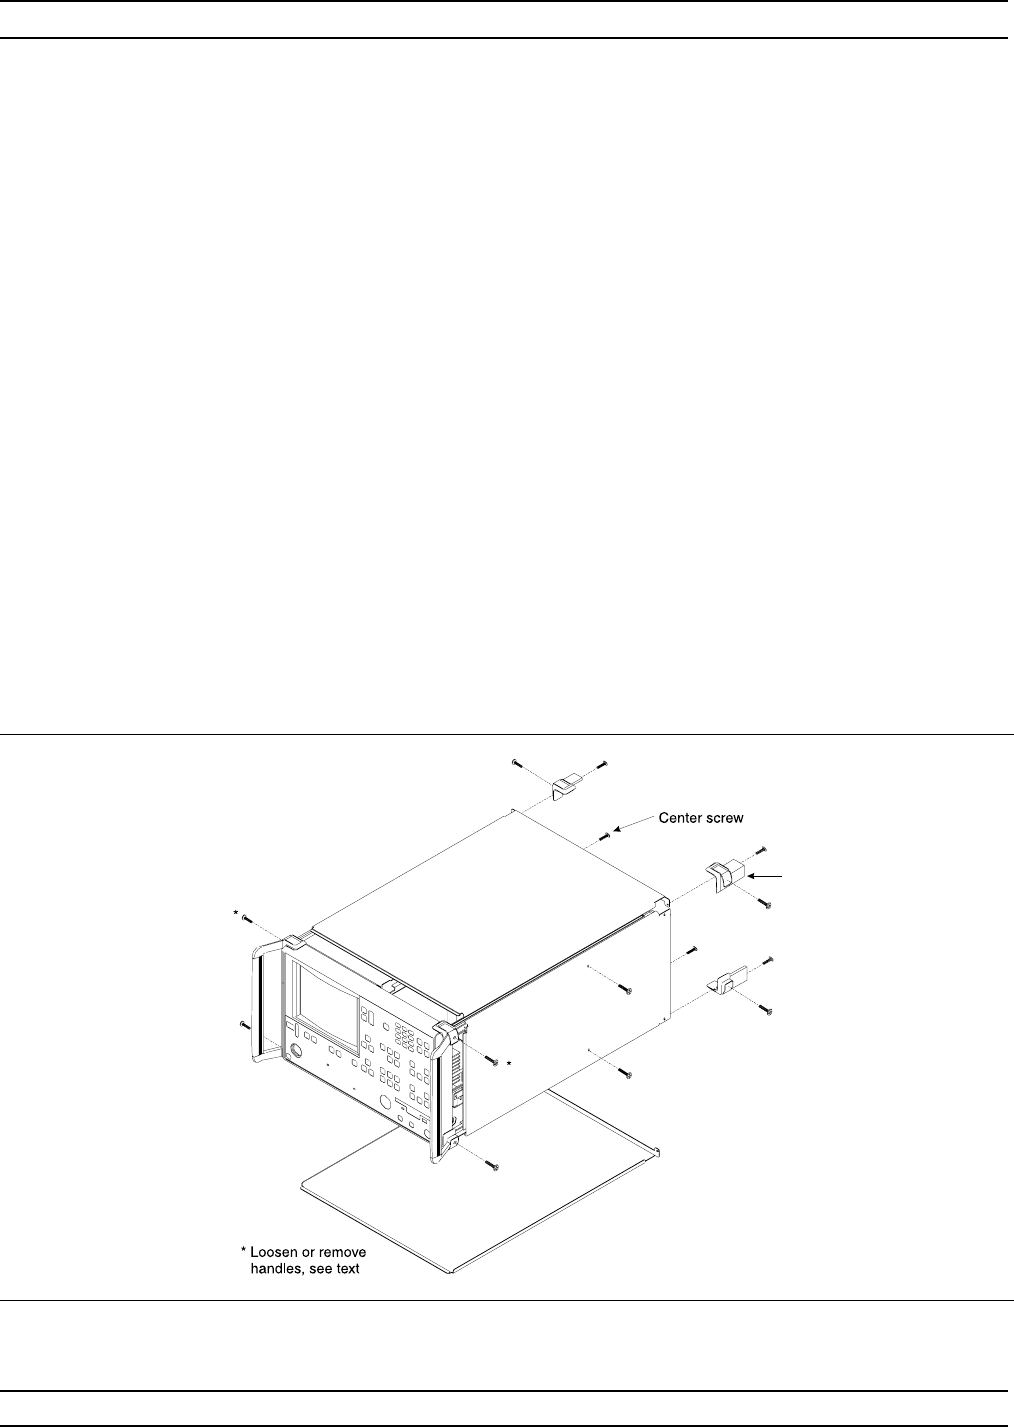
Place the 373XXA on its right side (monitor down).
n
If not already done, remove the feet from the two
left-side corners at the rear of the 373XXA.
n
Remove two center screws from the left cover.
n
Remove the center screw from rear of the left side cover.
n
Lift and slide the side cover away from the 373XXA.
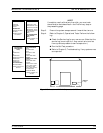
Step 5. To remove the right cover:
n
Place the 373XXA its left side (monitor up).
n
If not already done, remove the feet from the two
right-side corners at the rear of the 373XXA.
n
Remove the center screw from rear of the right side
cover.
n
Remove the center screw from rear of the right side
cover.
n Lift and slide the side cover away from the 373XXA.
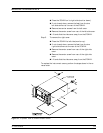
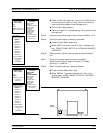
To replace the instrument covers, perform the steps above in the re-
verse order.
REMOVE AND REPLACE COVERS
373XXA MM 8-5
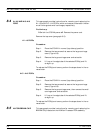
Figure 8-1. Exploded View of 372XXB Chassis Covers