Preparing the Machine
7
2
A
AA
A
Turn off the main power switches
of the machine and computer.
Important
❒ Before turning off the main
power switch, see “Turning Off
the Power”, Copy Reference.
B
BB
B
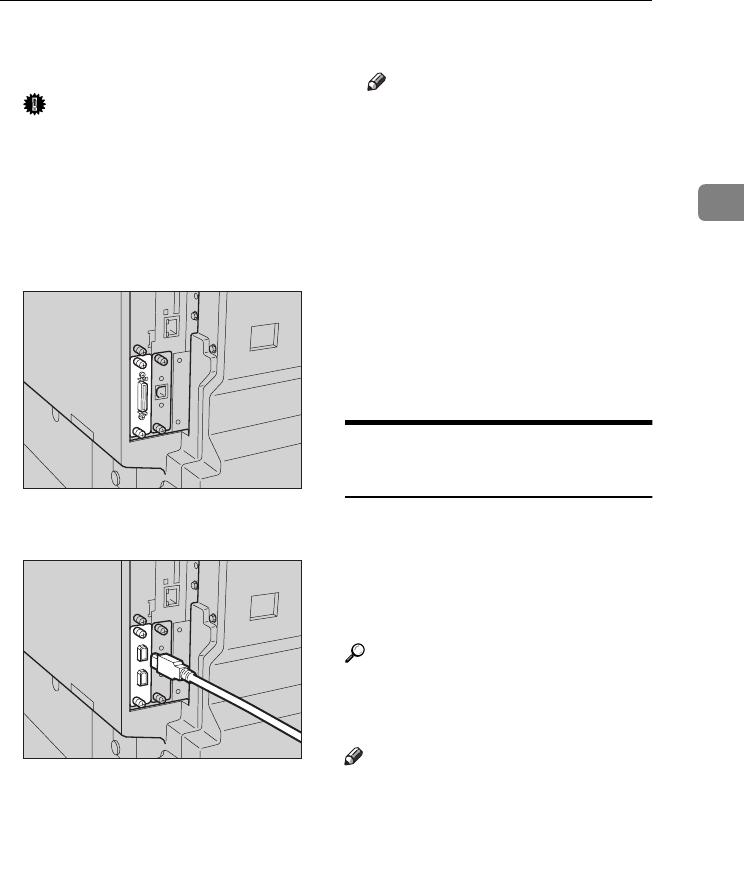
Plug the cable into the connector
on the machine’s interface.
❖
❖❖
❖ Parallel Connection
❖
❖❖
❖ IEEE 1394 (SCSI print) Connection
C
CC
C
Plug the other end of the cable
into the connector on the compu-
ter’s interface.
D
DD
D
Turn on the machine's main pow-
er switch.
E
EE
E
Turn on the computer.
Note
❒ When using Windows 95/98
SE/Me/2000/XP or Windows
Server 2003, a printer driver in-
stallation screen might appear
when the computer is turned
on. If this happens, click [Cancel]
on the screen. For more infor-
mation, see p.13 “Auto Run”.
The machine and computer are
now connected. The printer driver
must be installed next. For infor-
mation about how to install the
printer driver, see p.13 “Installing
the Software”.
Setting Paper on the Bypass
Tray
This section gives instructions for set-
ting paper on the bypass tray. Use the
bypass tray to print onto OHP trans-
parencies, labels, thick paper, and en-
velopes that cannot be loaded in the
paper tray.
Reference
For details about setting paper in
the paper tray, see General Settings
Guide.
Note
❒ When loading letterhead paper,
pay attention to its orientation. See
“Orientation-Fixed Paper or Two-
Sided Paper”, Copy Reference.
❒ Paper within the following dimen-
sions can be set in the bypass tray:
• Vertical: 90.0-297.0 mm (3.54
in.-11.69 in.)
• Horizontal: 148.0-600.0 mm
(5.83 in.-23.62 in.)
AAW017S1
AAW018S1
KirC2-GB-Pref1-F_FM.book Page 7 Monday, September 8, 2003 2:43 PM


